Quickstart
From an installed coach to your first categorized months in about ten minutes, plus the time your bank's login takes.
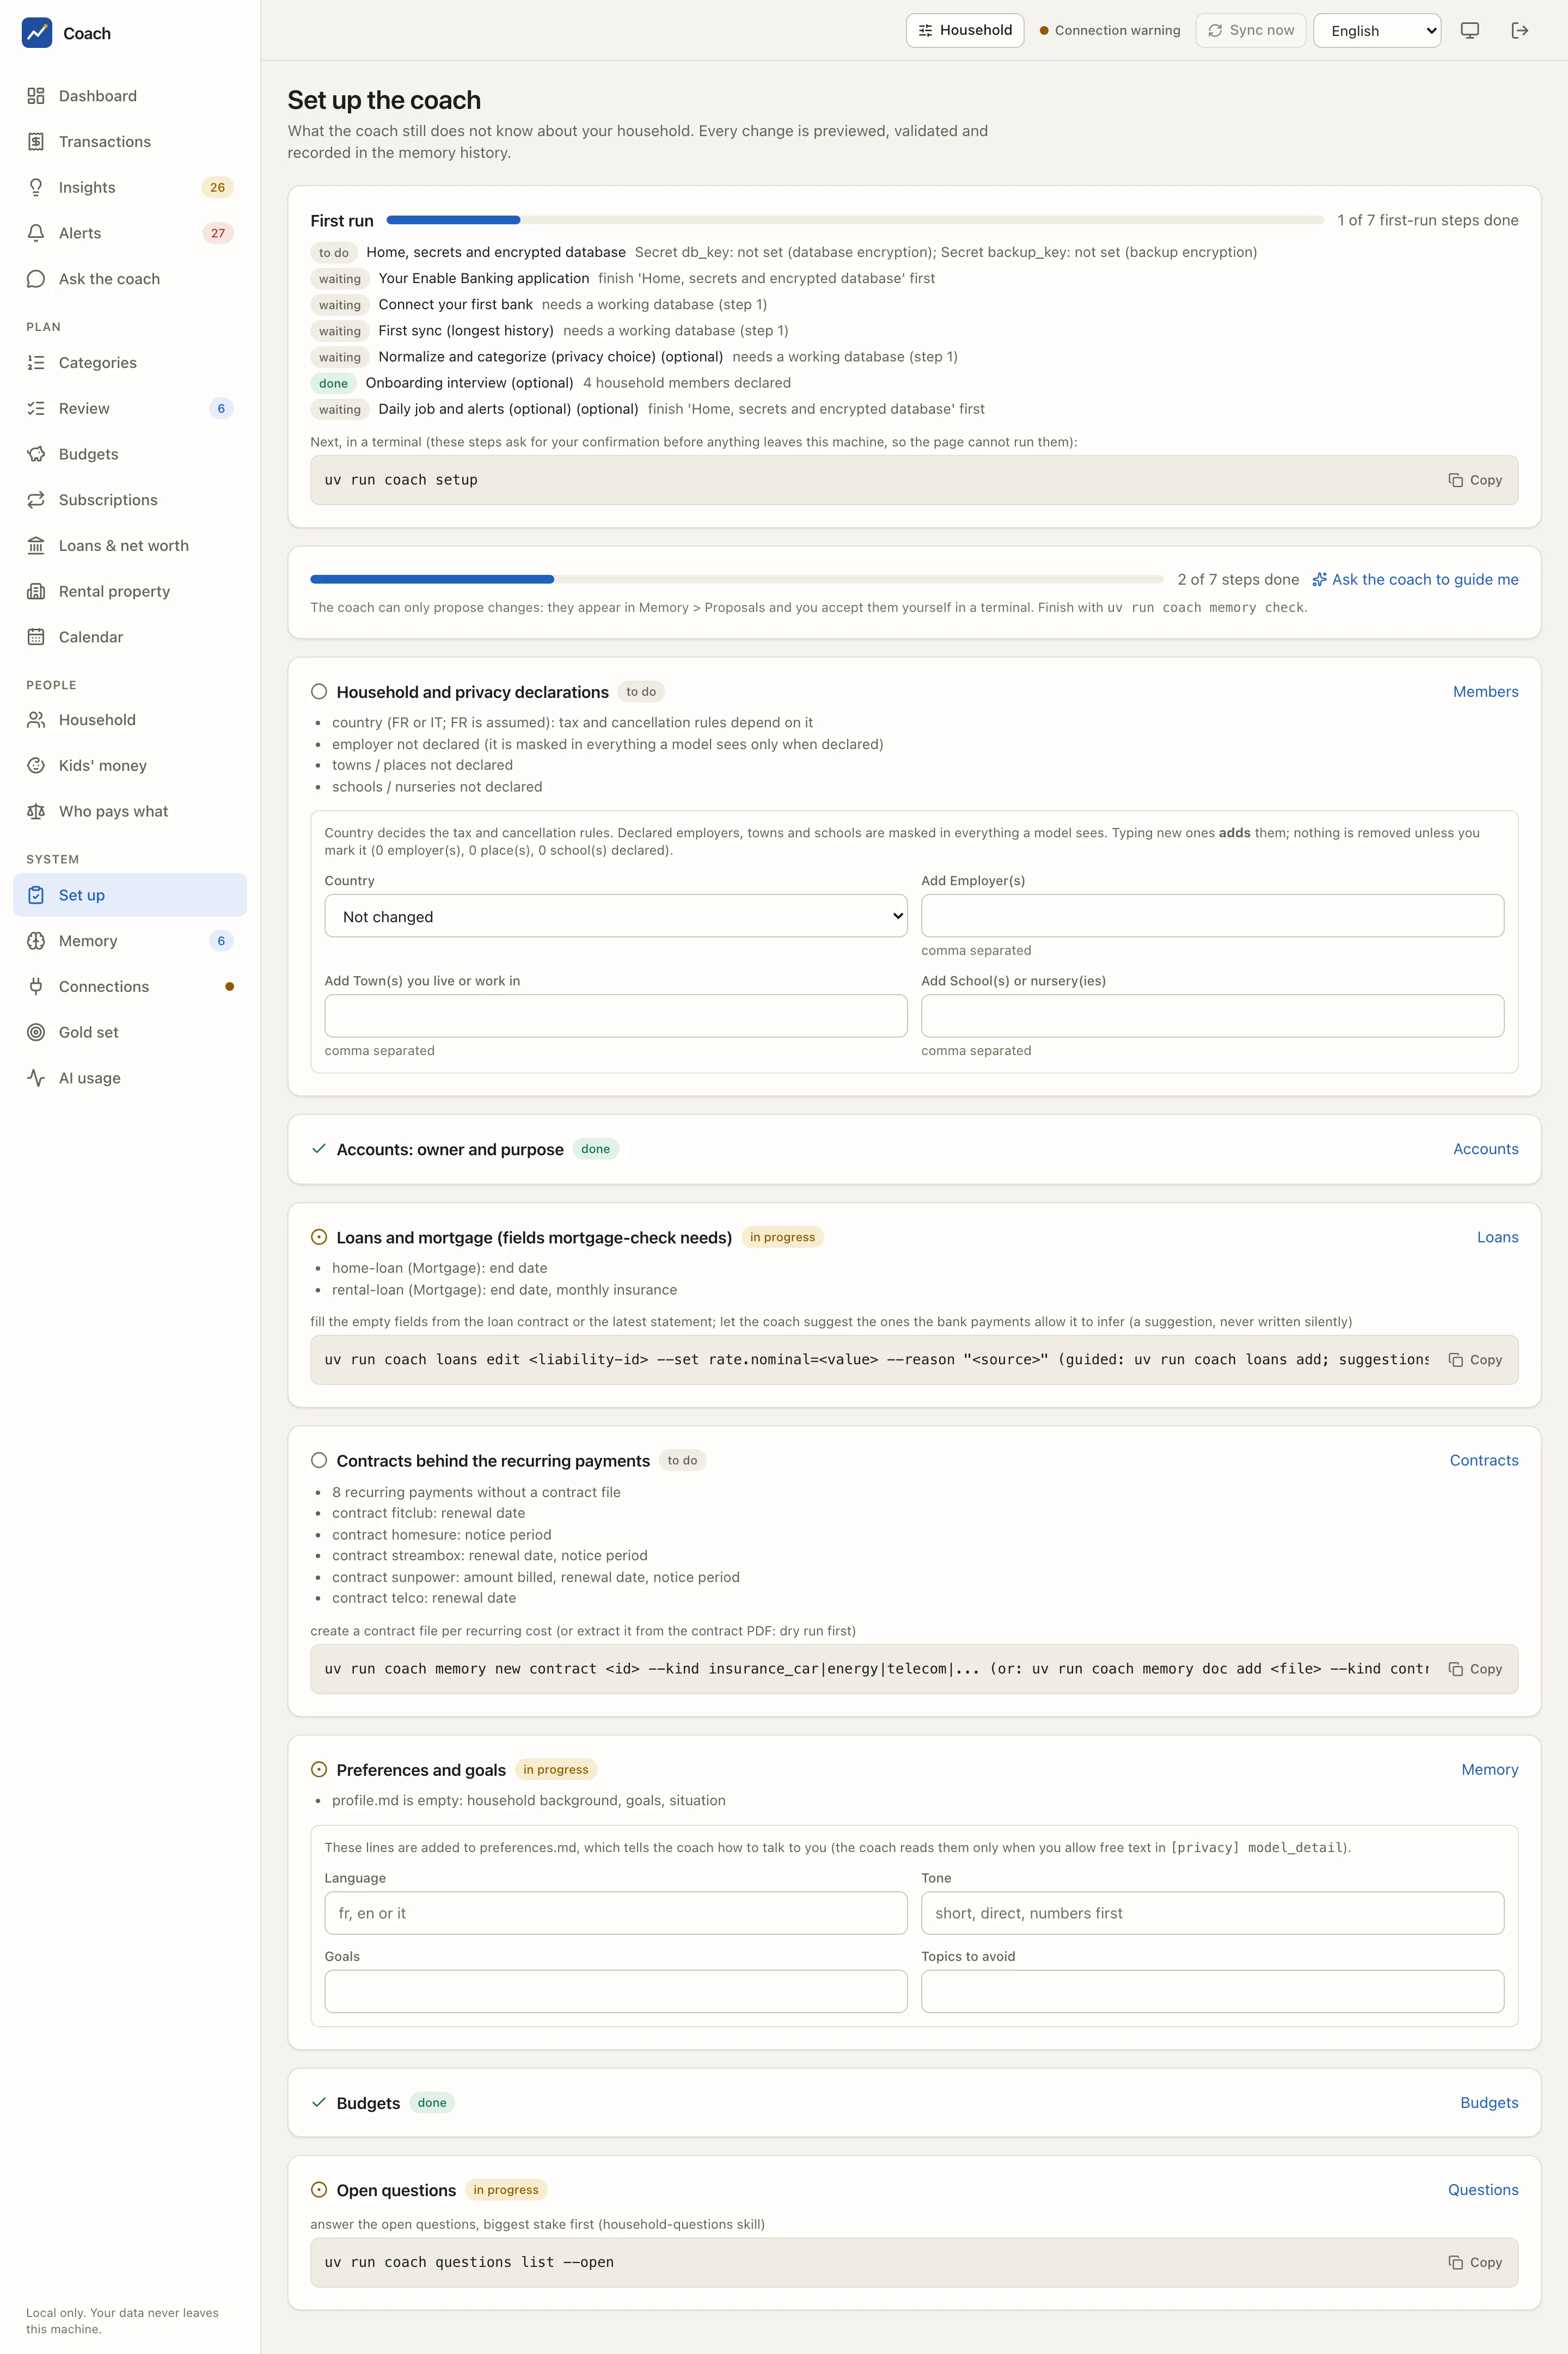
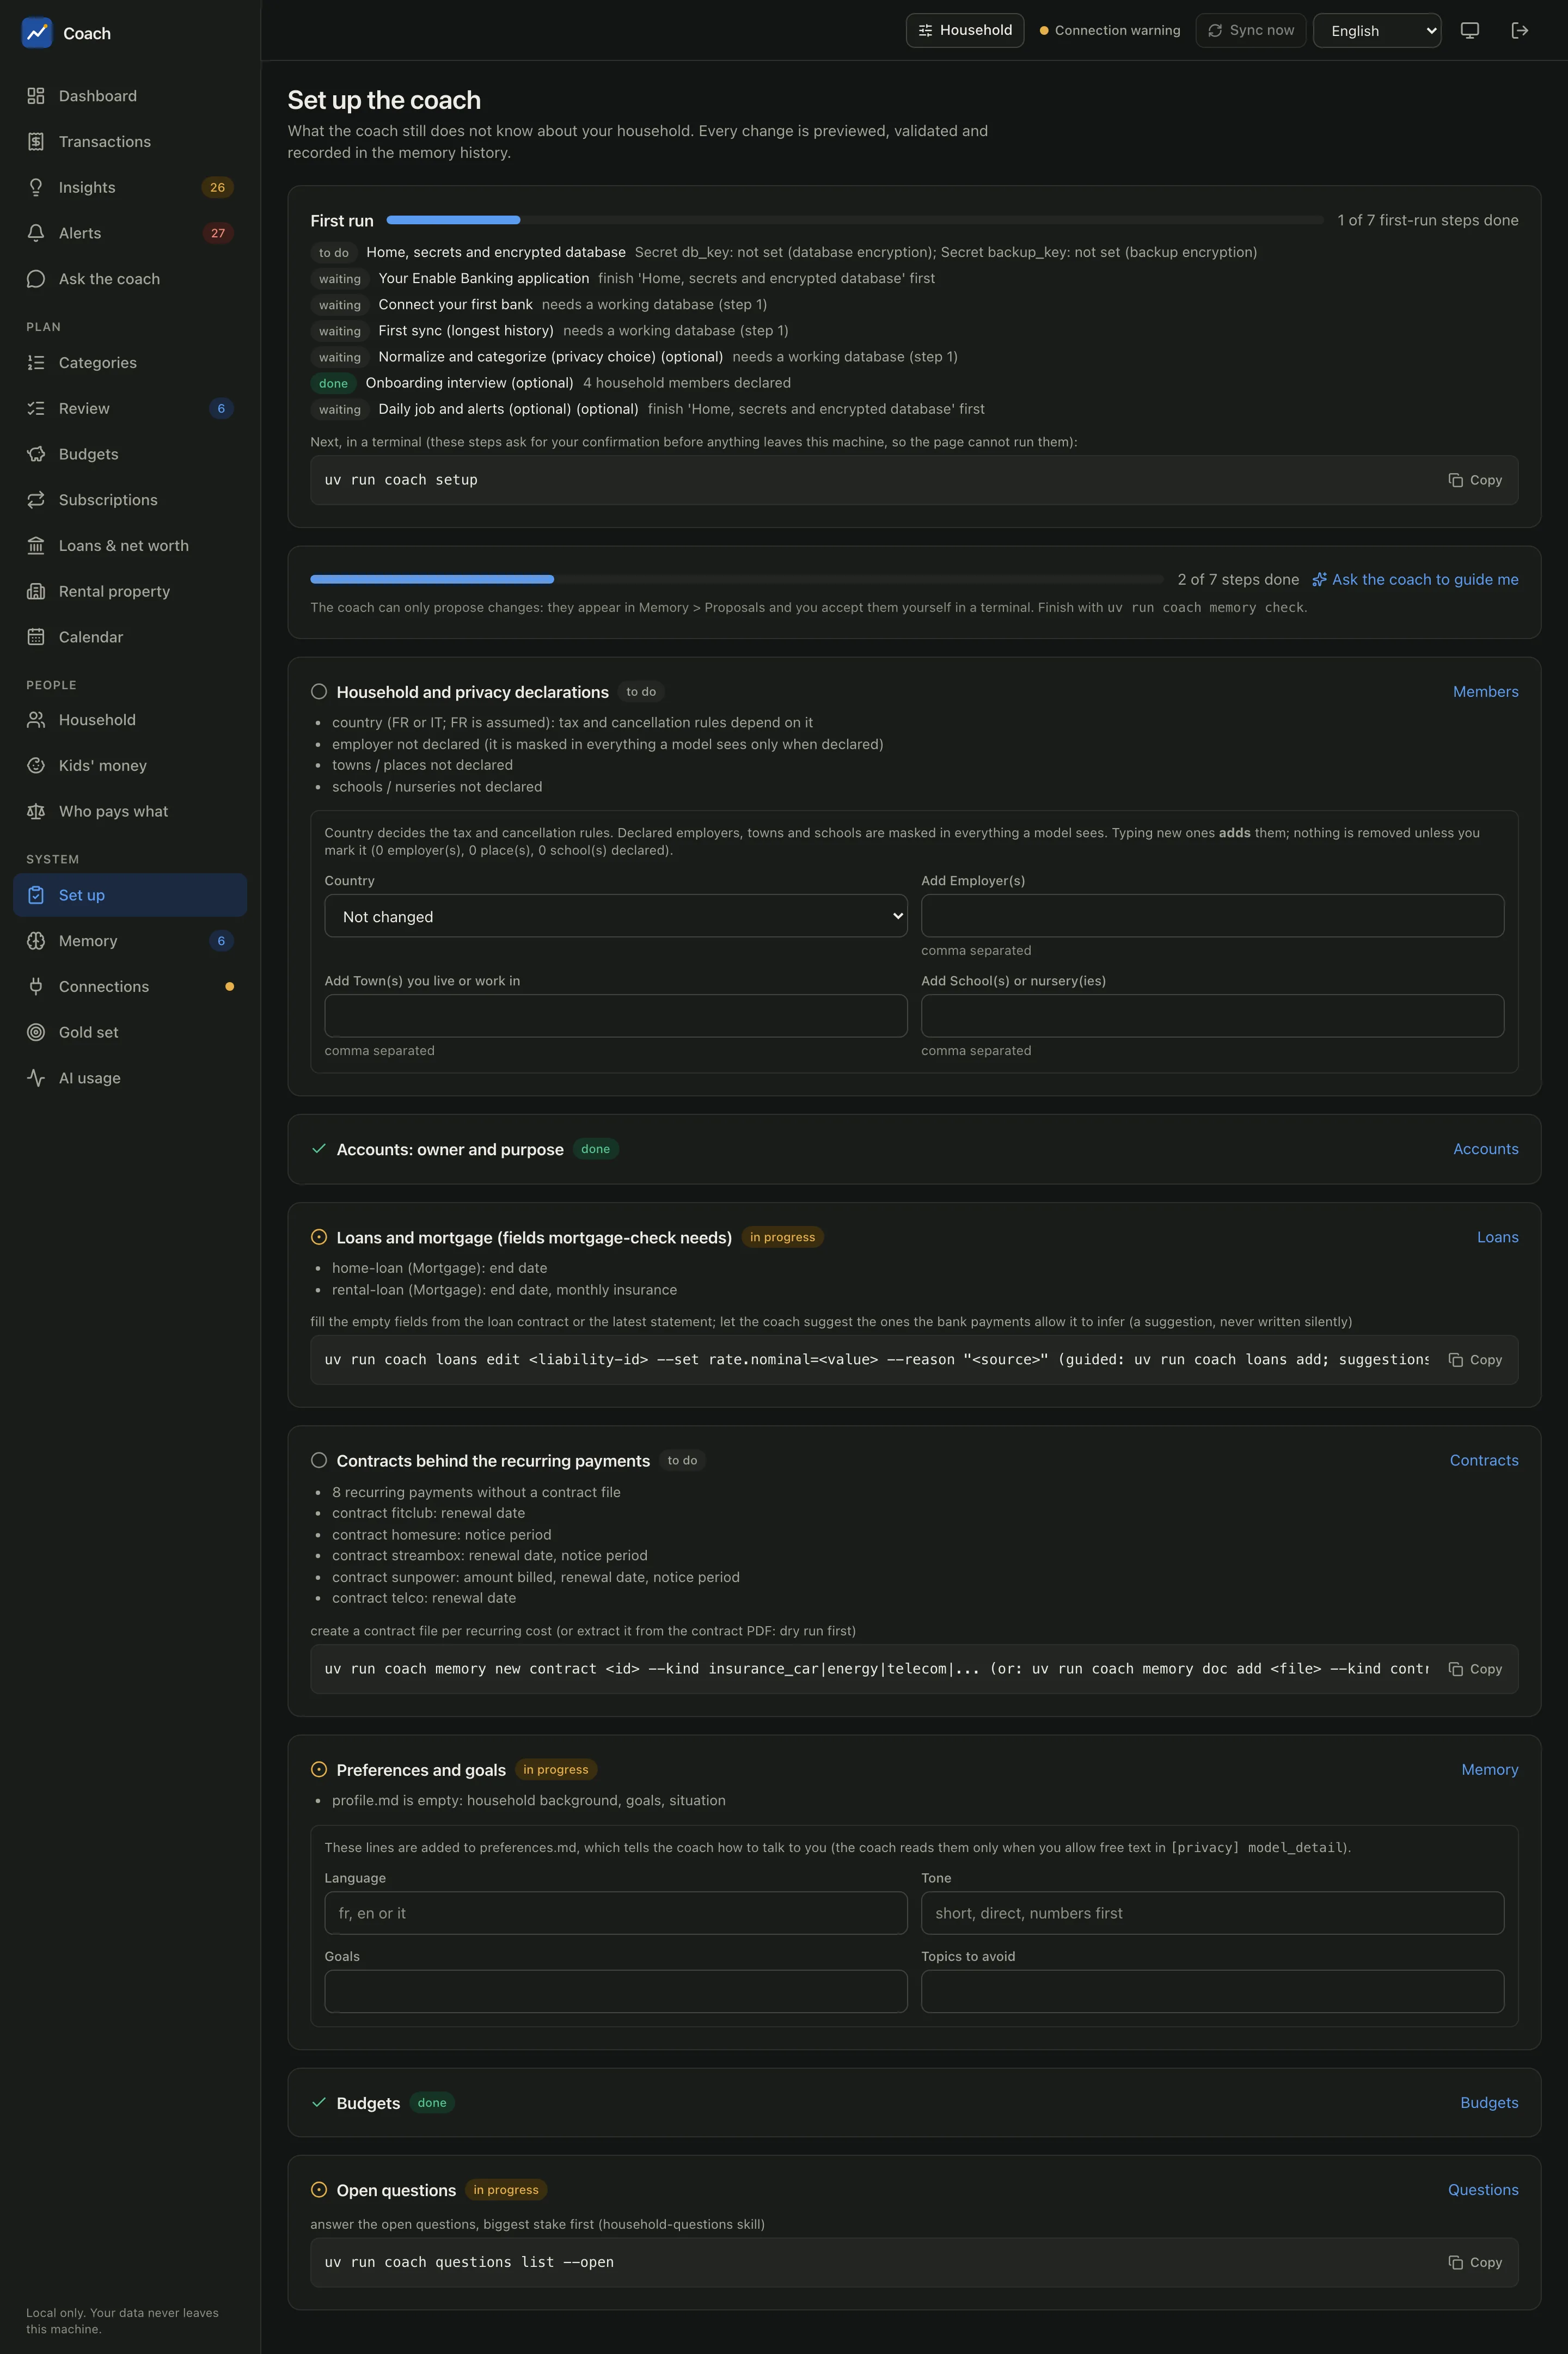
Before you start, install the coach. The commands below are written for a uv / pipx install; from a source checkout write
uv run coach ..., in Docker docker compose run --rm coach ....
Nothing leaves your machine without a typed confirmation
Each step that contacts Enable Banking, your bank or a model asks first, in the terminal, at that step. That is why the web app can show these steps but cannot run them for you.
1. Create your home (1 minute)
It writes config.toml, a private data folder, an empty memory skeleton, then asks you to type generate to create the three secrets,
and finally creates the empty encrypted database.
You get: a home folder ready to use. Save db_key and backup_key in your password manager now.
2. Check it
You get: a list of checks (ok, info, warn, fail) and the next thing to do. A warn about Enable Banking is expected at this
point.
3. Create your Enable Banking application (5 minutes)
The guide walks you through the Enable Banking control panel: create an account, create a Production application in restricted mode,
whitelist the redirect URL https://localhost:8443/callback, save the downloaded private key, copy the application id, and link your own
bank accounts to the application. It then stores the three values in config.toml and, if you say yes, checks them with one call to
Enable Banking.
You get: [enable_banking] filled in, and a "configured" step on the Set up page. Details and pitfalls:
Connect your banks.
4. Run the first-run wizard (4 minutes plus bank logins)
The wizard picks up where you are. Each step detects its own state, so you can stop and resume at any time (coach setup --status
shows where you are; coach setup --step sync runs one step).
- Connect your first bank. Your browser opens on your bank's own login page. After you log in, the bank redirects to a small HTTPS server the coach runs on your machine for that moment. Your browser warns once about its self-signed certificate: accept it.
- First sync. The longest history the bank allows (often 90 days, sometimes up to 2 years).
-
Normalize and categorize. Normalizing is local. Then the wizard prints exactly what a model would receive (redacted merchant descriptors), says which backend would get it, and offers three choices:
Choice What happens Run it now You type send, and the redacted descriptors go to your configured backend.Go fully local You type local:[privacy] local_only = trueand the backends switch to Ollama on this machine.Skip for now Rules and your memory still categorize; run coach classify runlater. -
Onboarding interview (
coach onboarding run). Questions about your household: members, country, account owners and purposes, loans, contracts, preferences. Every write is previewed first. - Daily job (optional): see step 6 below. Alert channels stay off.
You get: your transactions in the database, most of them categorized, and a household memory that knows who is who.
5. Open the web app
Your browser opens on a one-time login link (http://127.0.0.1:8765/login#t=...). The link works once; the session then lasts
[ui] session_hours (12 by default). Need a new link? coach ui --login-link prints one, even while the app is running.
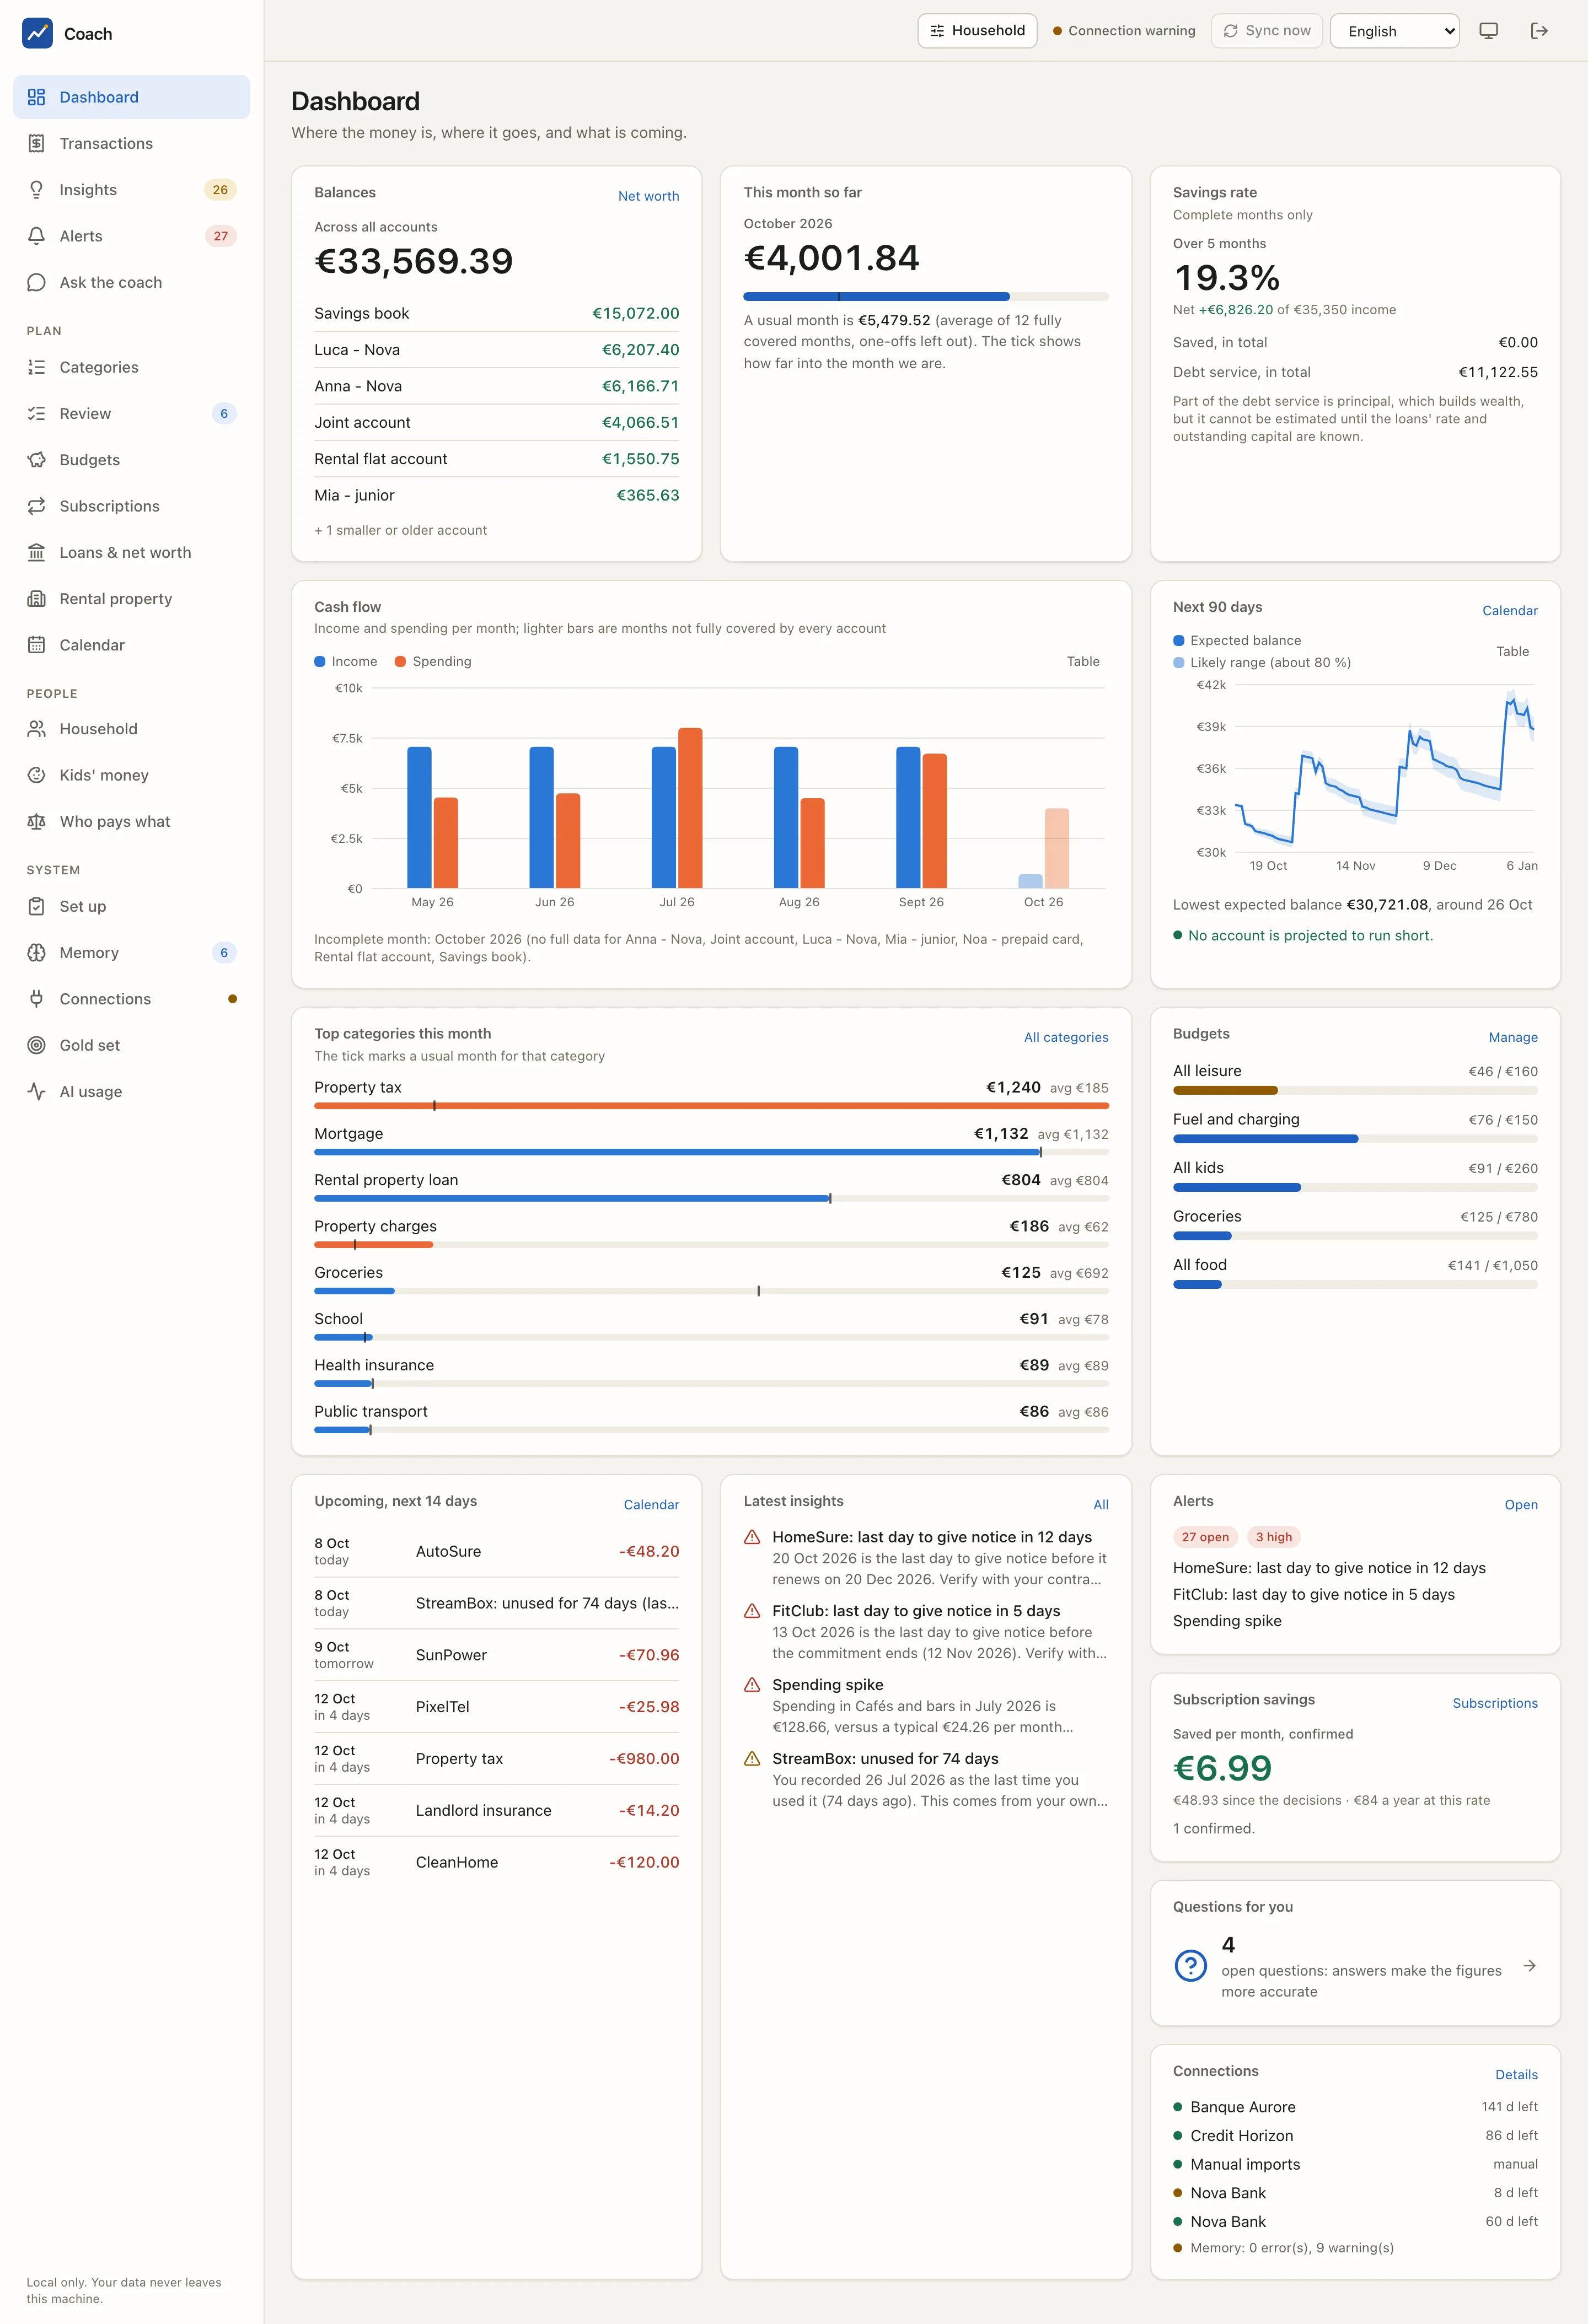
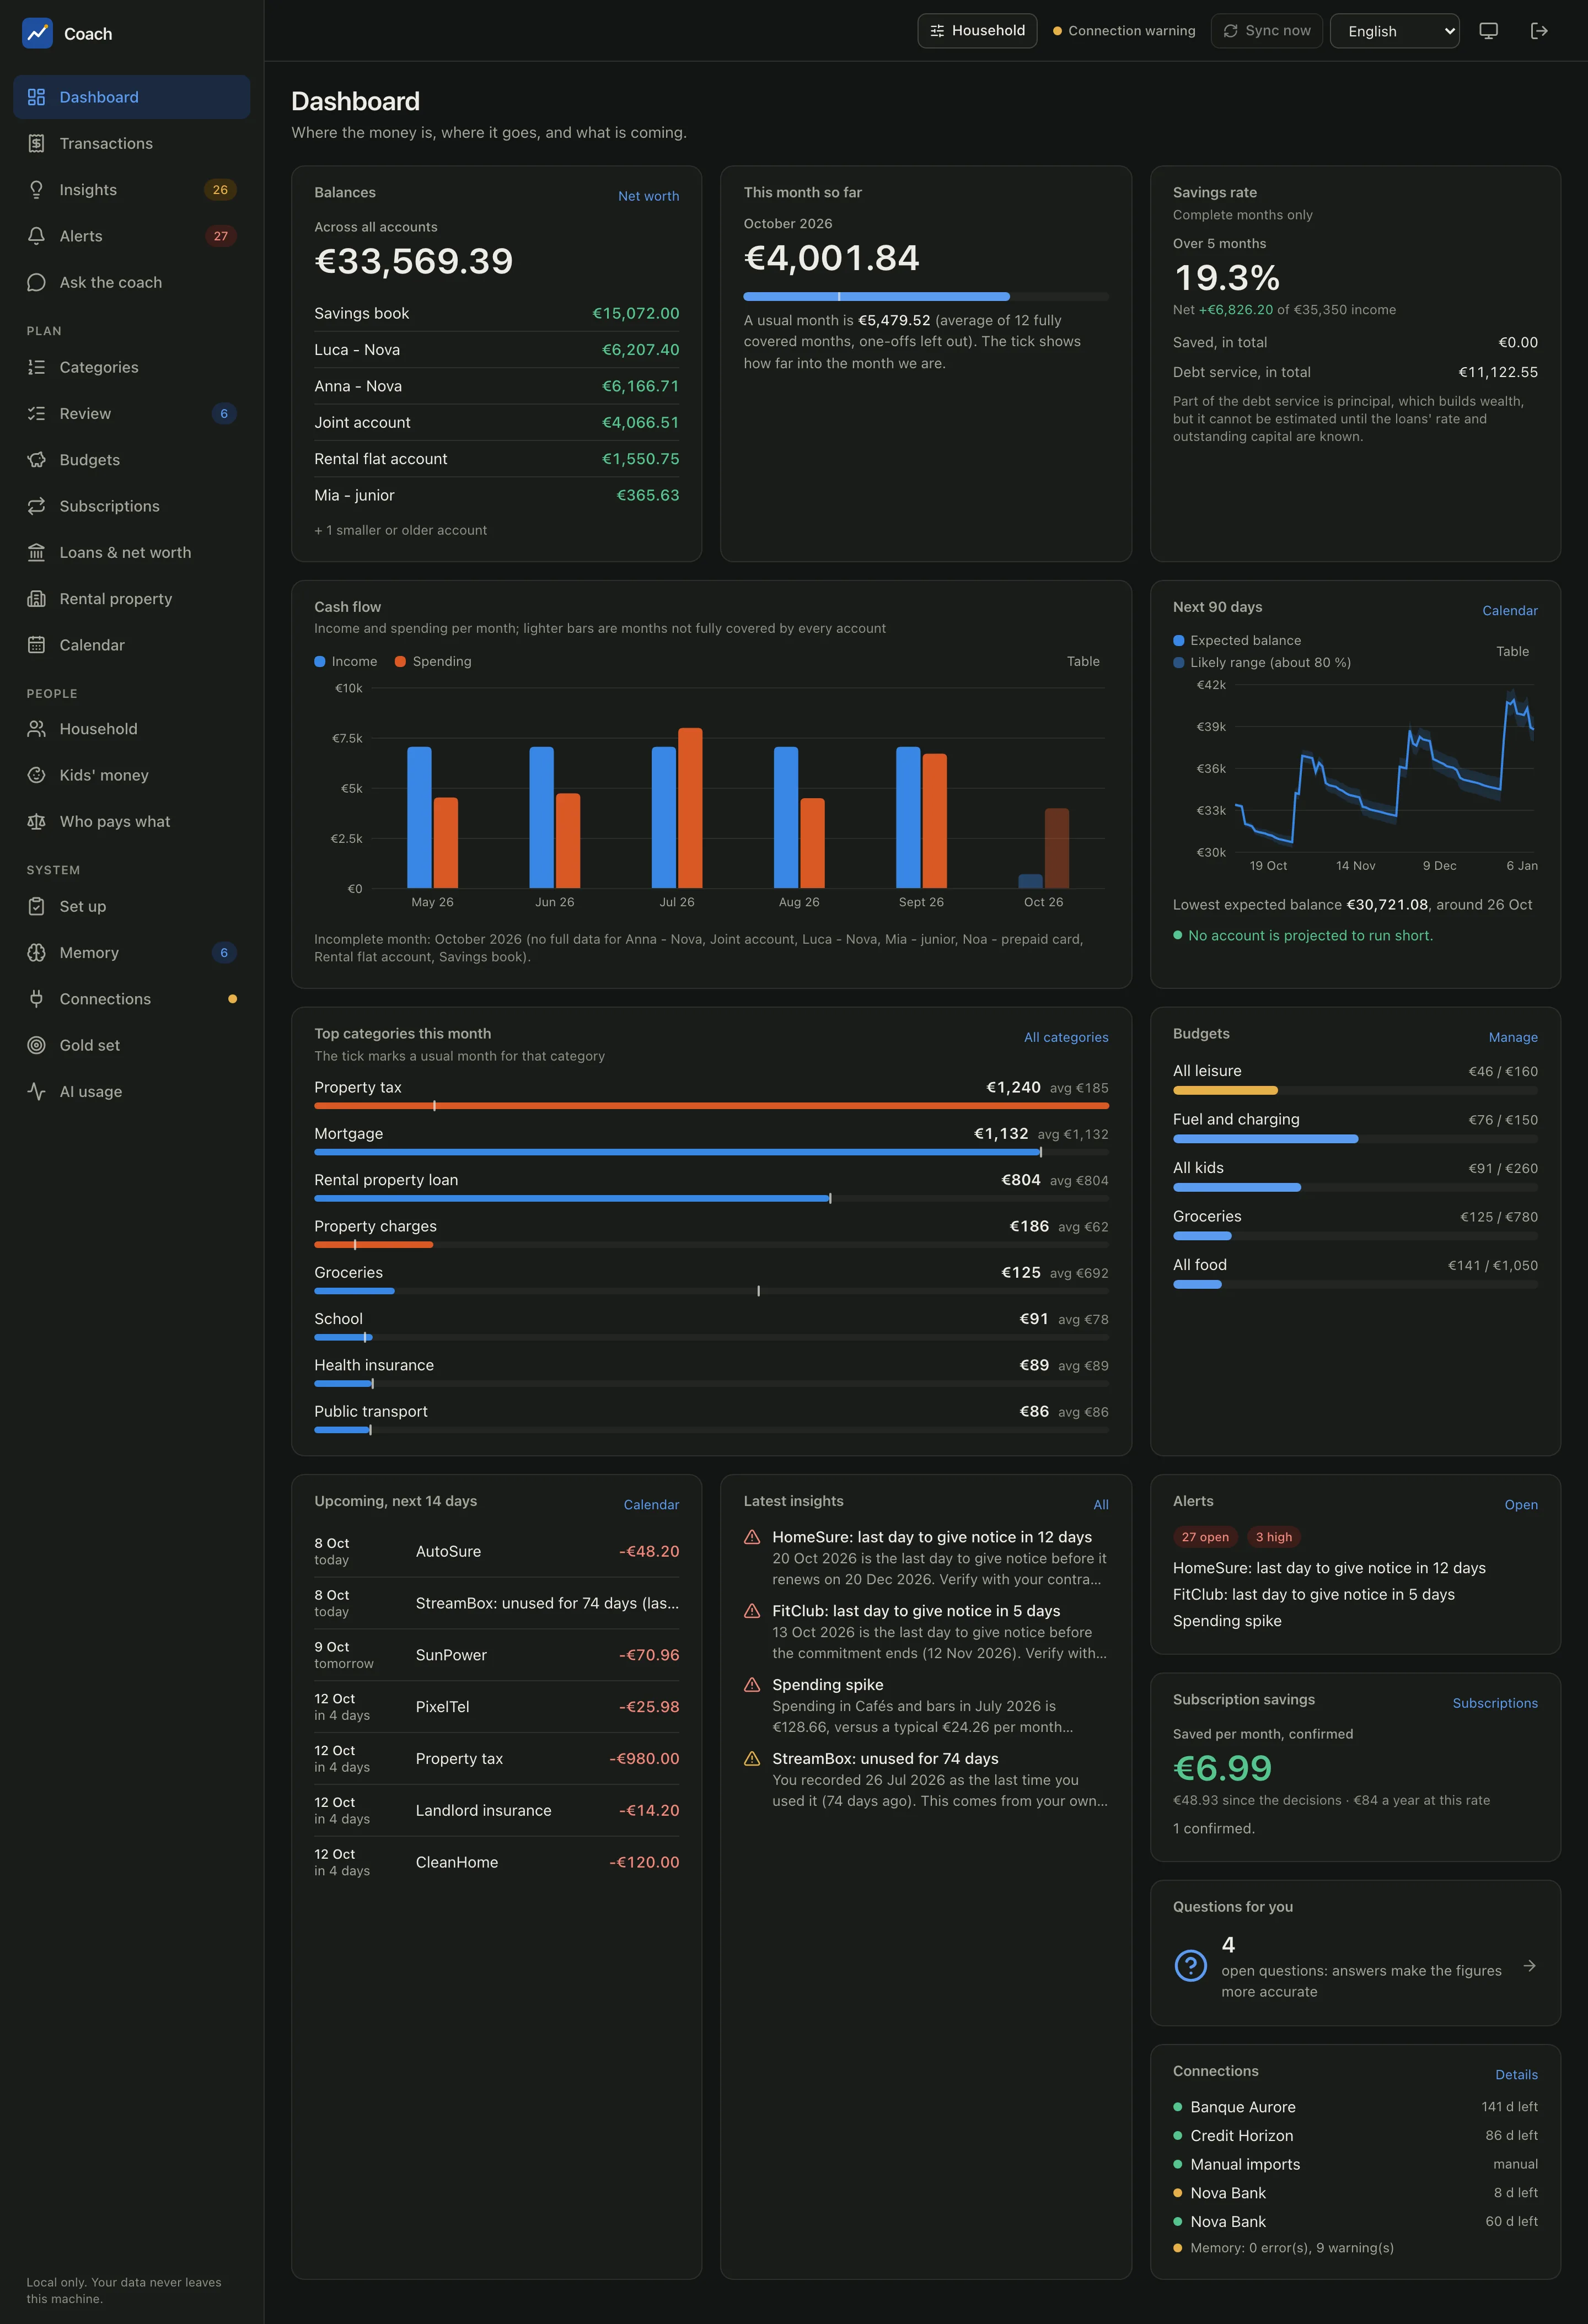
Good first things to do:
- Review: confirm or fix the merchants the coach was least sure about. Your answers become permanent memory.
- Budgets: set a few, or start from the suggested ones.
- Ask the coach: "How did last month compare with a usual month?"
- Memory > Proposals: anything the coach suggested. You accept a proposal yourself, in a terminal:
coach memory accept <id>.
6. Turn on the daily job (optional)
The job syncs within the PSD2 limits, normalizes, classifies with the backend you chose, refreshes the analytics and evaluates the local alerts. It contacts Enable Banking and your model backend every day, which is why it is opt-in.
If something goes wrong
| Symptom | What to do |
|---|---|
coach doctor shows a fail |
Its hint names the fix; run the suggested command. |
| The bank redirect never arrives | Check the redirect URL is whitelisted exactly; or use coach connect ... --no-server and paste the final address into coach finish '<address>'. |
coach check refuses the application |
The accounts are not linked yet in the control panel (step 5 of the guide), or a value was mistyped: run coach setup enablebanking again. |
| Many transactions are uncategorized | You skipped the model step: run coach classify run --dry-run, then coach classify run, or review them in the web app. |
See also
- Connect your banks: consents, limits, file imports
- AI models: choosing a backend
- User guide: every page of the web app
- CLI reference