Quickstart
Get from a fresh machine to your first real search in ~10 minutes.
Prefer to try it before you install anything?
Run demo mode first — zero Proton credentials, one command, and you can click through the whole UI against a curated library of 82 CC0 photos. When you're ready for your own library, come back here.
What you'll do
- Install the Proton Drive CLI and sign in once (browser sign-in).
- Export your session for the bridge.
- Configure
.envand start the stack. - Create your admin account.
- Run your first search and name your first person.
The screenshots below were captured against the demo instance; the flows on your own library look exactly the same.
1. Install the CLI and sign in
Download proton-drive (the official Proton Drive CLI) for your platform from the
Proton Drive CLI download page. The page publishes
SHA-512 checksums for every binary — verify the download before running it. On NAS or embedded
x86-64 CPUs, pick linux/x64-baseline if the default build crashes at startup with
Illegal instruction.
Sign in once — the CLI opens a browser tab (no password on the command line):
Keep the terminal open until it reports Authentication successful. No browser on the machine?
The CLI prints a sign-in URL instead — open it on any phone or desktop, and the session lands on
the machine that ran the command.
2. Export the session
The helper runs a fresh, throwaway CLI login in a temp dir, so your real keychain or pass
store is never touched. Already have the CLI session in pass? One-liner:
Treat this file like a password
It contains your access token, refresh token, and decryption keys. .gitignore already
excludes credentials/, and compose mounts it only into the proton-bridge container —
never commit it, never share it. To encrypt it at rest on the host, set
PROTON_DRIVE_CREDENTIALS_STORE=pass in .env (see Encrypted store).
3. Configure and start
Prebuilt images are pulled from the GitHub Container Registry, so there's nothing to build. To
build from source instead: docker compose up -d --build. To store data on a specific host
disk, set DATA_MOUNT= (defaults to the named data volume).
Within about a minute the app answers on http://localhost:8080. The indexer starts immediately against your real Proton Drive, is fully resumable, and processes roughly 1–2 s per photo (a 100 k-photo library takes about a day). The UI becomes useful right away as results stream in.
4. Create your admin account
scripts/create-admin.sh admin          # prompts for a password, or:
ADMIN_PASSWORD=... scripts/create-admin.sh admin
Then open http://localhost:8080 and sign in.
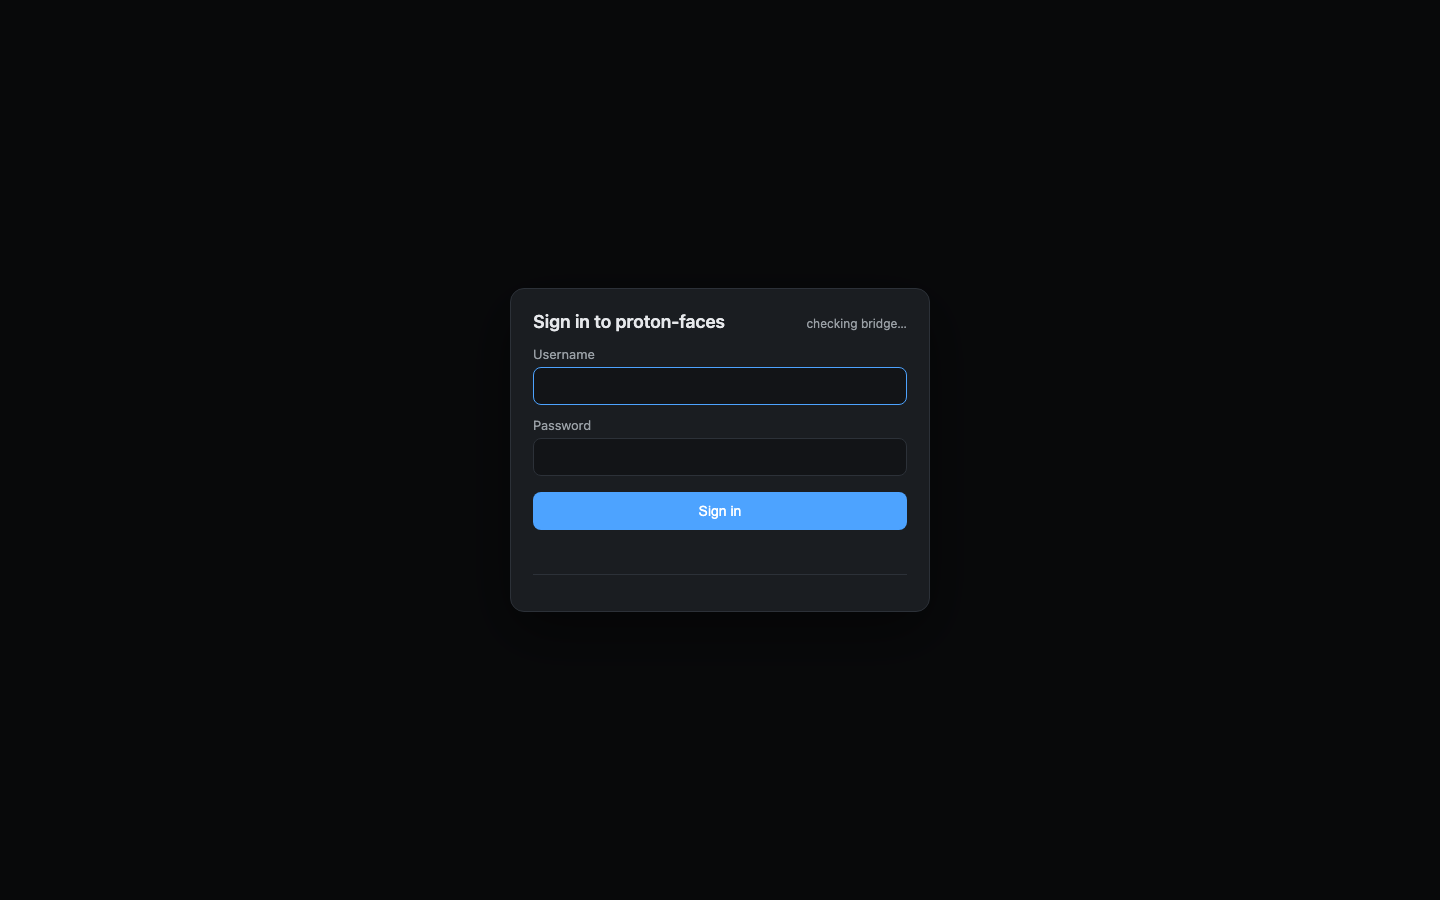
5. Your first search
The search bar (top-right) matches by zero-shot CLIP: your text is embedded into the same 512-d vector space as every photo, then ranked by cosine similarity. No per-photo tagging, no training step.
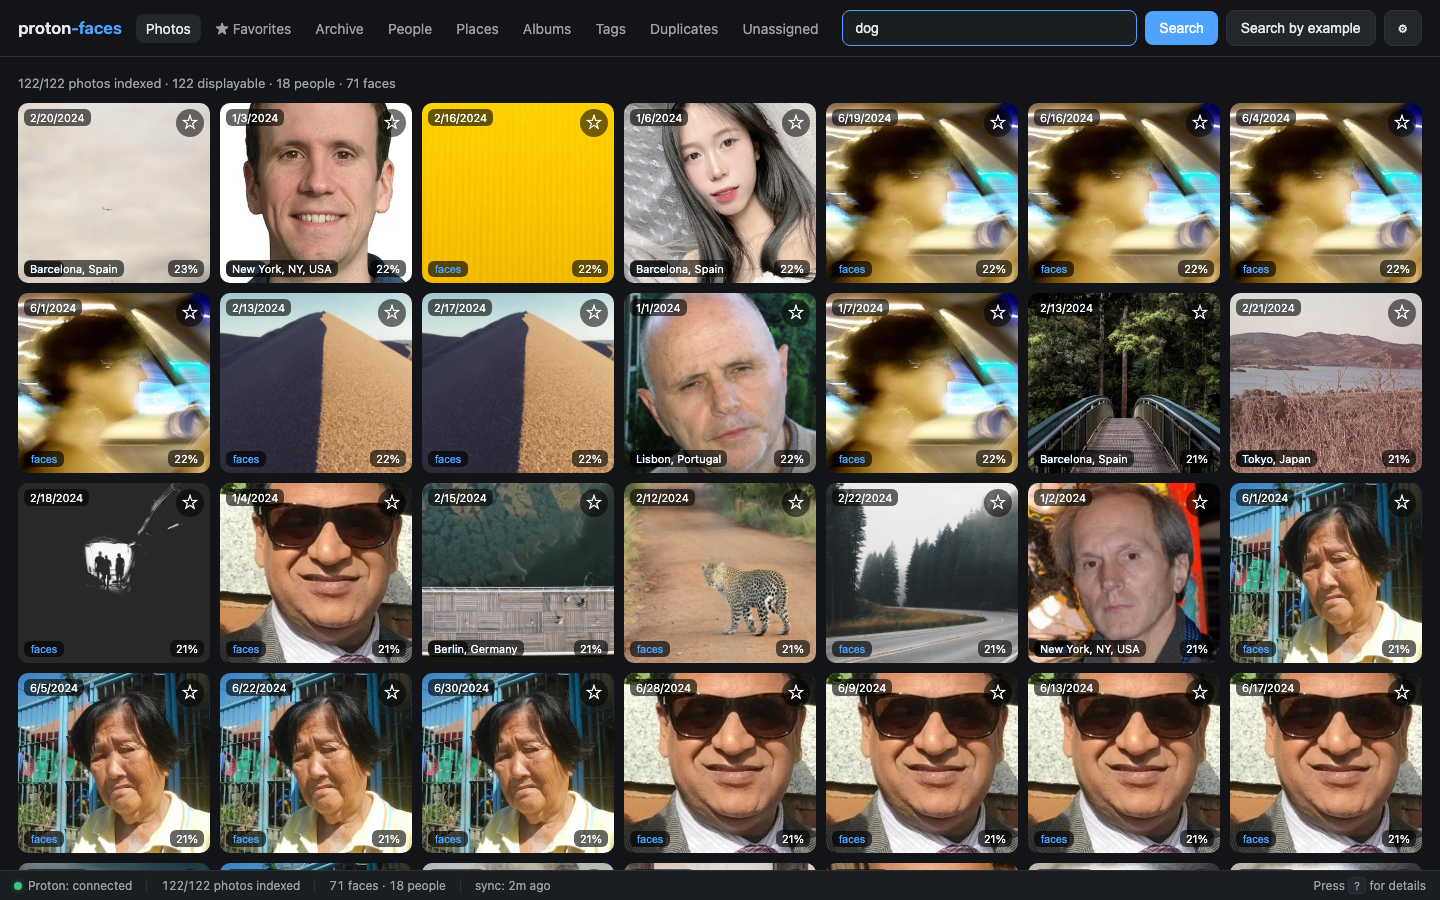
Type dog, beach, sunset, cat — anything. It re-ranks the whole library instantly. Type a
place name (e.g. Lille) and GPS reverse-geocoding narrows it to photos taken there.
6. Name your first person
Open the People tab. Faces were grouped automatically by HDBSCAN into person clusters
(similar ArcFace embeddings), and the clusters keep updating every CLUSTER_INTERVAL seconds
(30 min by default).
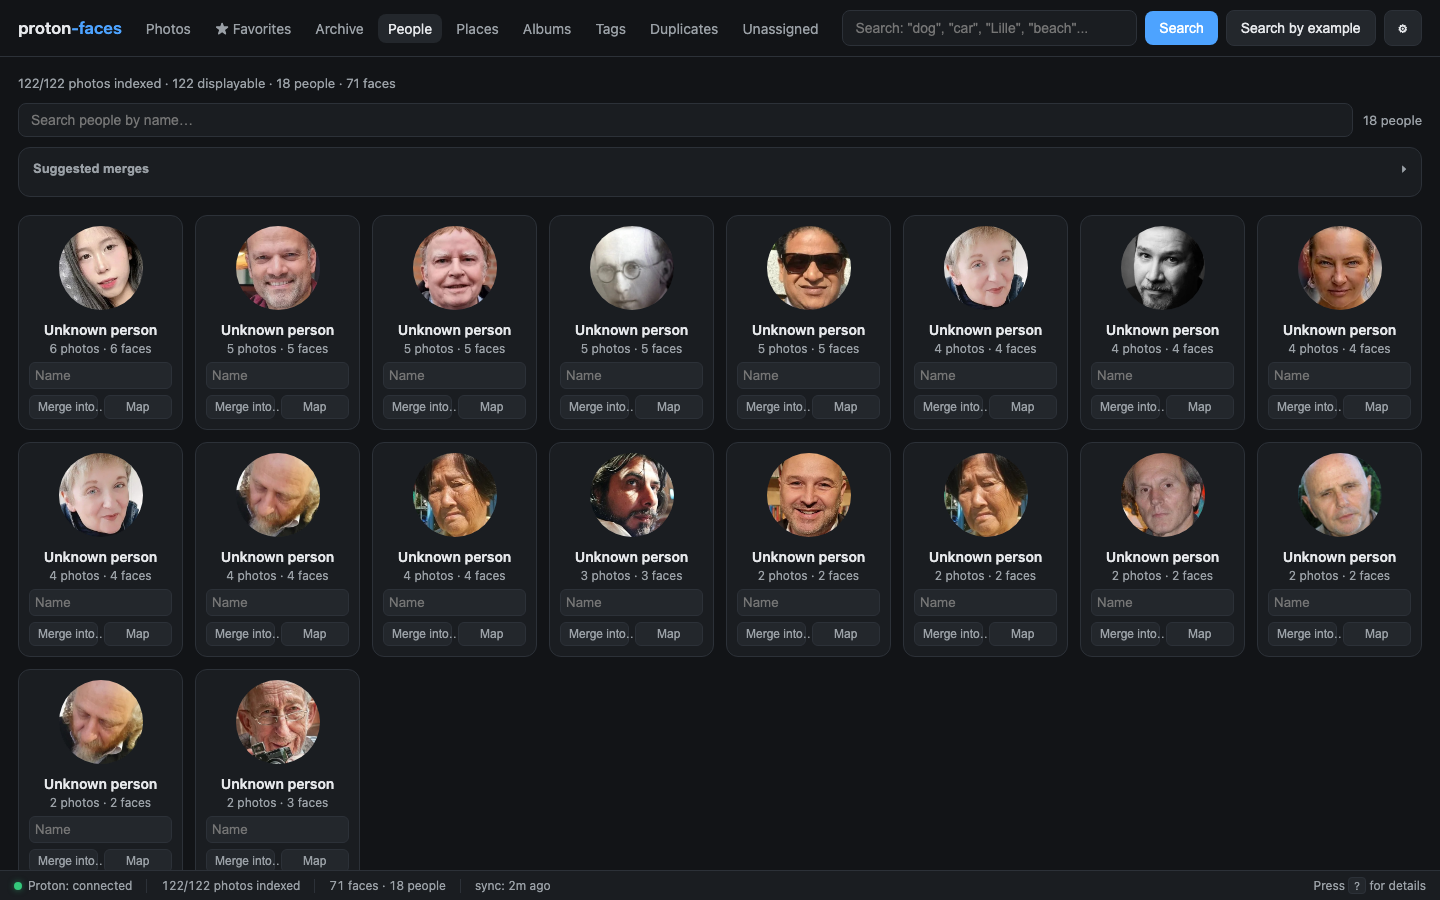
Type a name into a card's Name field and press Enter — the cluster, its cover face-crop, and every photo it appears in all carry the name.
Click a card to see that person's photos; Map on the card shows every place they were photographed. Open a photo and hover a face to tag it directly — every unassigned look-alike is auto-tagged in the same step (face tagging with propagation).
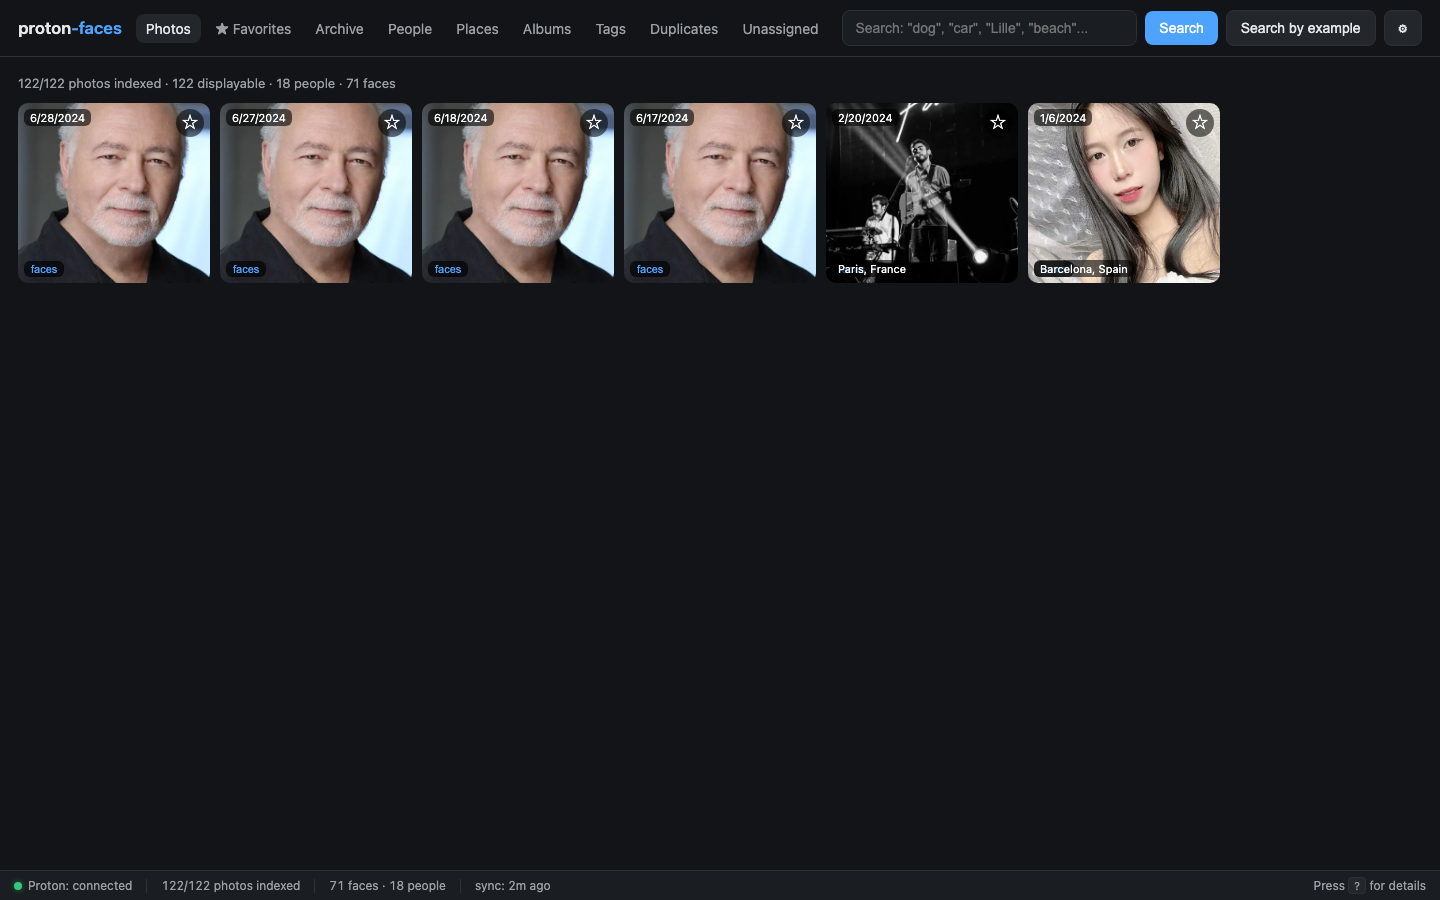
7. Browse the rest
- Places — a Leaflet map with one clustered marker per city you've photographed.
- Albums — your Proton albums (read-only).
- Tags — free-form labels you set on a photo's detail panel.
- Duplicates — content-hash matches; hide any you don't want.
- Unassigned — faces that didn't cluster into a person; your cleanup queue.
- Favorites / Archive — starred and hidden photos.
What's next?
- Installation — production concerns: single process, volumes, updates.
- Session file — macOS Keychain, Windows Credential Manager, and the
encrypted
passstore. - User guide — every feature, shortcut, and the admin area.
- Troubleshooting — the usual gotchas.