Open source · Solar · Zigbee 3.0 · No cloud

Your own weather.

A solar Zigbee weather station you build yourself: wind, gusts, direction, rain, temperature, humidity and pressure, plus optional UV, lightning and frost sensors. A Seeed XIAO ESP32-C6, a Misol wind and rain kit and a set of 3D-printed parts, ready for Zigbee2MQTT and Home Assistant.

ESP32-C6Sleepy end device18650 + solarOpenSCADZigbee2MQTTHome AssistantMIT
LIVE DEMO · your garden Asleep
NESW
Wind12km/h
Gust21km/h
Temperature11.4°C
Rain today2.8mm
// zigbee2mqtt/weather_station
{ "wind_speed": 12, "wind_gust": 21, "wind_direction": 248,
  "temperature": 11.4, "humidity": 87, "pressure": 1004.2, "rain": 412.6 }
Simulated: the real station wakes every minute and reports every 5 minutes.
Why build it

A real weather station, without the cloud.

Commercial stations push your garden's weather through an app and somebody else's server, and often on a WiFi link that drops at the bottom of the garden. This one talks Zigbee to the house and nothing else.

Solar, no cables

One 18650 and a small 6 V panel. About four months on the battery alone, so it goes where the readings are right: in the open.

Zigbee, not WiFi

Joins the mesh your other sensors already use. No passwords, no IP, no account, and it sleeps at 15 µA between reports.

The full set

Wind speed, gust and direction, rain, temperature, humidity and pressure. Optional modules are found at boot: solder only what you want.

Printable

Radiation shield, sealed box, panel bracket, pole saddles and rain gauge plate, in OpenSCAD and sized for a 220 × 220 mm bed.

What it measures

Everything a forecast needs, from your own garden.

Seven readings out of the box, four more with optional modules. Each one shows up as its own entity in Home Assistant.

Wind & gusts

5-minute average and the strongest 3 s gust, in km/h and Beaufort.

Direction

Vector average weighted by speed, 16 points.

Rain

Every 0.28 mm tip, rain rate, today, month and year.

Temperature & humidity

SHT45 (±0.1 °C) in a ventilated radiation shield. Dew point and feels-like.

Pressure

BME280, converted to sea level for your altitude.

OPTIONAL

UV & light

LTR390 under a PTFE window in the shield's cap.

OPTIONAL

Lightning

AS3935: strikes and distance, up to about 40 km.

OPTIONAL

Frost & soil

Two DS18B20 probes: grass level and 10 cm deep.

The station

One pole, one rain post, an afternoon.

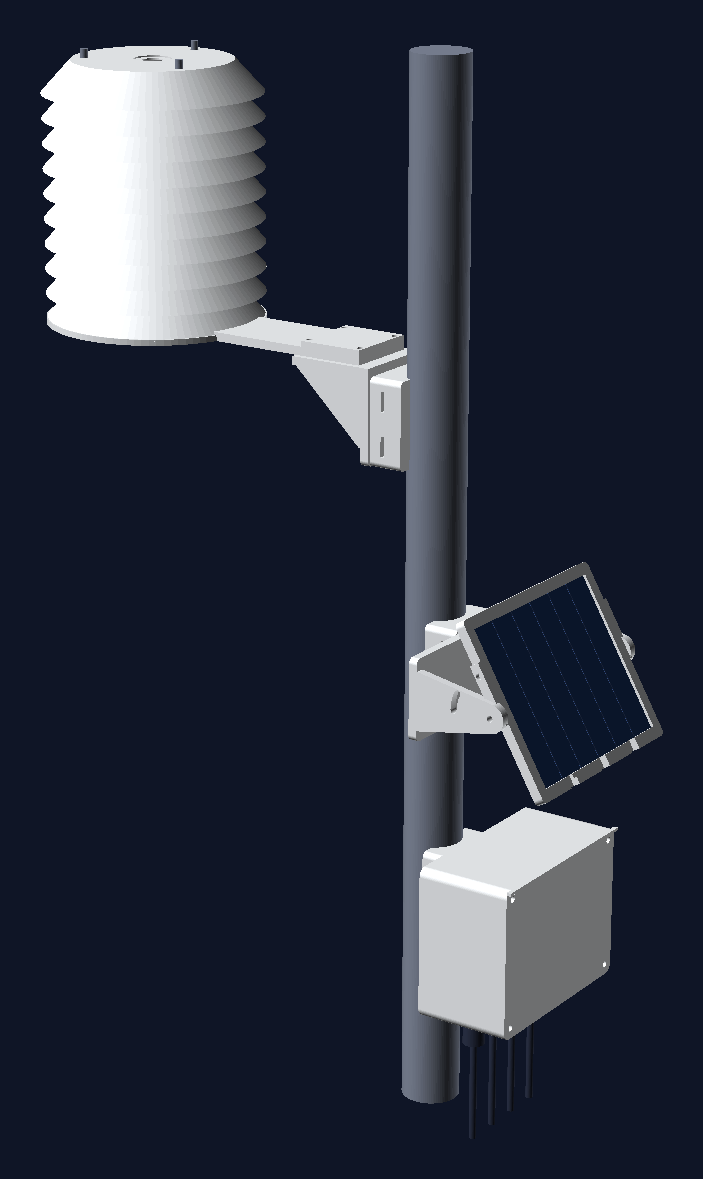
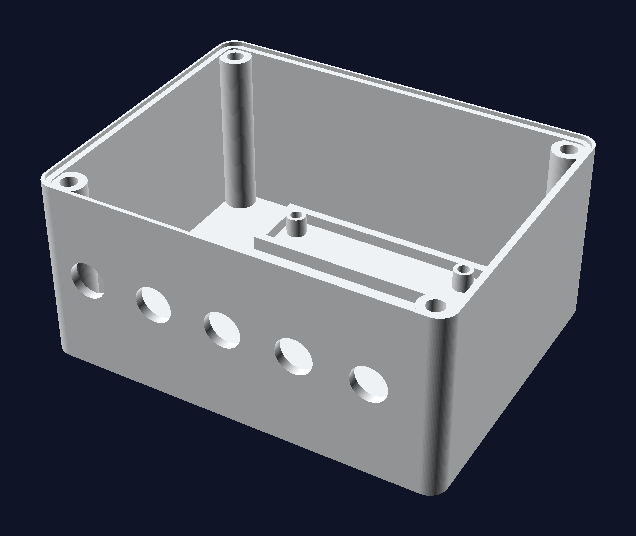
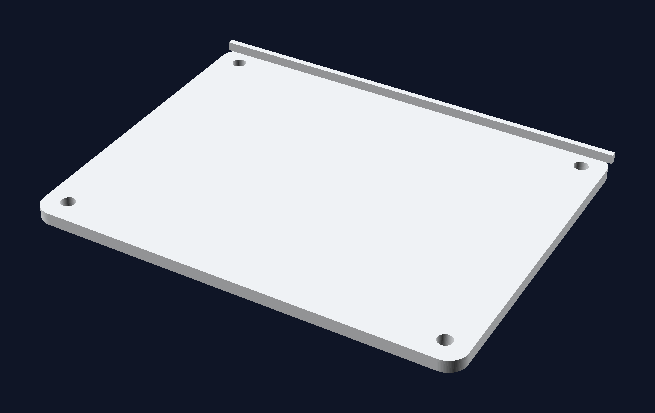
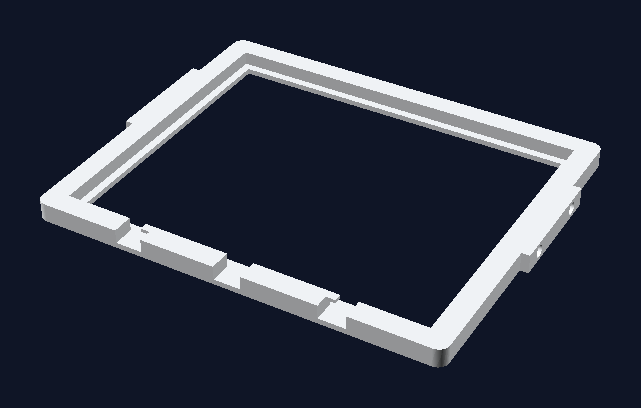
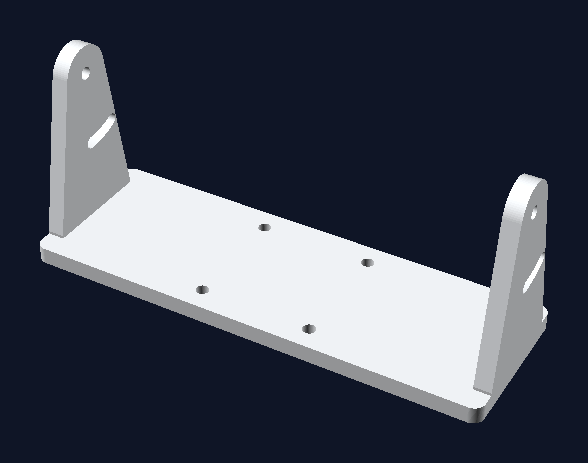
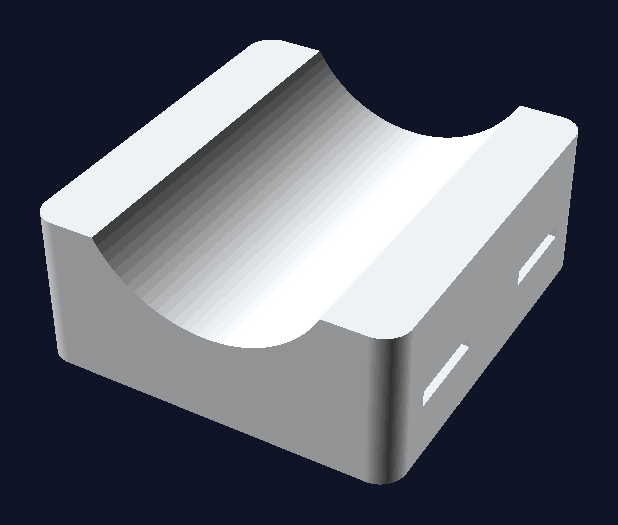
Everything bolts to printed saddles held by stainless hose clamps, so nothing needs drilling. These are renders of the real printed parts.

  • 3 m
    Wind armAt the top, clear of the roof. Point the vane's N mark north.
  • 1.5 m
    Radiation shieldNorth side of the pole, on its arm, at least 1 m from walls and paving.
  • 1.3 m
    Solar panelFacing south, tilted about 60° for the winter sun. It also shades the box.
  • 1.2 m
    Electronics boxCable glands down, so water never runs into one.
  • ~1 m
    Rain gaugeOn its own short post a metre away, levelled with a bubble.
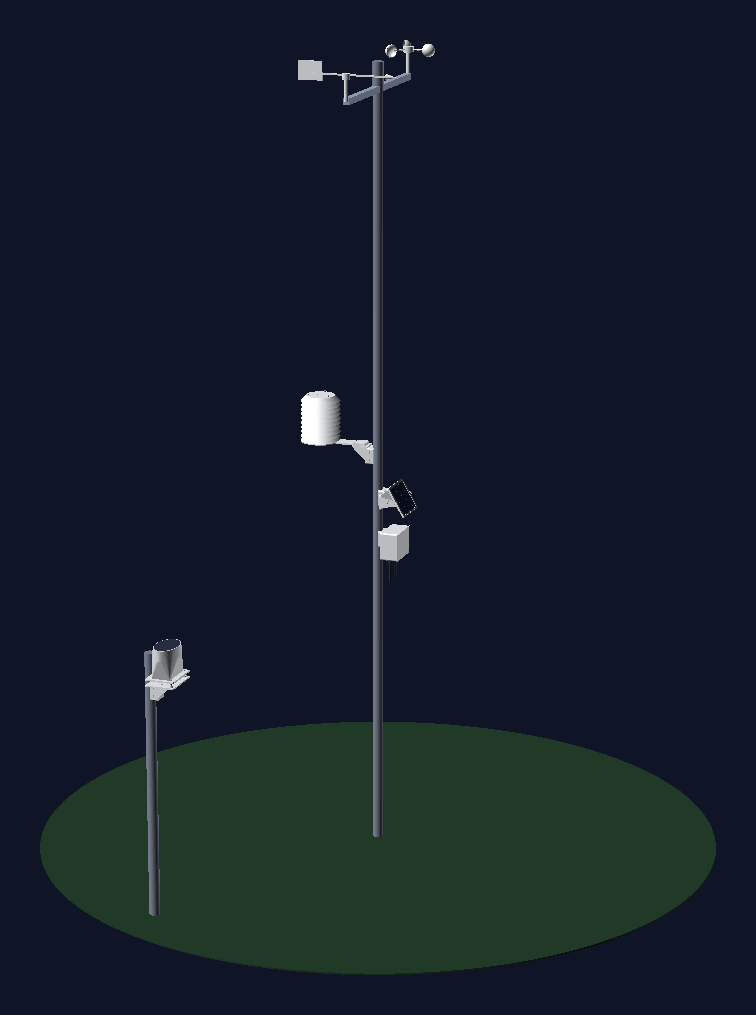
The whole station: 3 m pole with wind arm, shield, panel and box, rain gauge on a short post
The whole station
Close-up: radiation shield on its arm, solar panel on its tilting bracket, electronics box with cable glands
Shield, panel and box
How it works

Asleep 94 % of the time.

The ESP32-C6 sleeps in deep sleep, wakes for each rain tip, samples the wind for 3 s every minute, and sends everything over Zigbee every 5 minutes. That is how one 18650 lasts months without sun.

Wind & rain kitreeds + vane on RJ11
I2C sensorsSHT45 · BME280 · LTR390 · AS3935
XIAO ESP32-C615 µA deep sleep · end device
Zigbee2MQTTexternal converter
Home Assistantpackage: rain, dew point, alerts
Step by step

Build it in nine steps.

Each step links to the file you need and to the detailed guide. Bench-test before you print or drill anything.

  1. Order the parts

    About €170–200 including the pole and the filament. The wind and rain kit must be the reed-switch type with RJ11 plugs, not a set with a wireless console. Order the electronics from one shop so you can bench-test while the kit ships.

  2. Check the kit cables

    Batches differ. With a multimeter, find the anemometer pair (one beep per turn), the vane pair (688 Ω to 120 kΩ as it turns) and the rain pair (a beep per tip).

  3. Bench test on a breadboard

    Flash the XIAO, wire the kit, the SHT45 and the BME280 on a breadboard, press RESET and watch the serial monitor: modules found, Zigbee joined, a first report. Spin the cups and tip the bucket.

  4. Print the parts

    Twelve part types, about 600 g of PETG in a light colour (not PLA: it softens in summer sun). Print one saddle and the box lid first to check your pole and your inserts.

  5. Solder the board, build the box

    XIAO, resistors, capacitors and the two RJ11 jacks on a 70 × 50 mm perfboard. Charger, cell holder and BME280 next to it, the NTC taped to the cell. Four PG7 glands and the vent plug underneath, silicone cord in the lid groove.

  6. Assemble the radiation shield

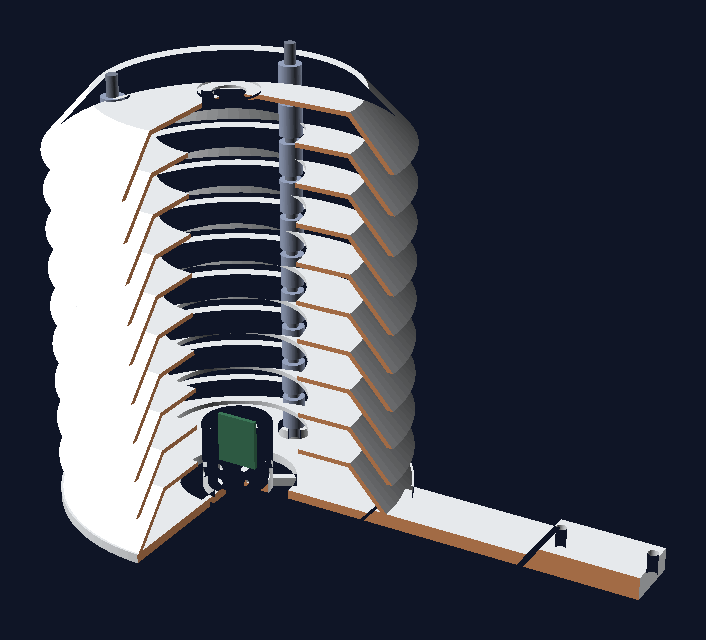
    Three M5 rods through the base, then spacer, plate, spacer, plate… nine times, and the cap. The SHT45 sits in the perforated cage in the middle of the stack, out of the sun and the rain.

  7. Pair with Zigbee2MQTT

    Copy the converter to Z2M's external_converters/, restart Z2M, open Permit join and press RESET. The station stays awake 2 minutes for the interview. Name it weather_station.

  8. Install it in the garden

    A 3 m pole in the open, at least 3 m from walls. Wind arm at the top, shield at 1.5 m on the north side, panel facing south, box glands down, rain gauge level on its own post.

  9. Add the Home Assistant package

    Copy the package to /config/packages/, restart and set your altitude. You get rain today/month/year, rain rate, dew point, feels-like, Beaufort, and alerts for gusts, lightning, frost, low battery and a silent station.

Charger first. Connect the bq24074 to the cell and the panel and check the cell charges in the sun before you connect the XIAO. The charger refuses to charge below 0 °C on purpose: Li-ion must never charge when frozen.

3D-printed parts

Twelve parts, one 220 mm bed.

PETG at 235–245 °C, bed 75–80 °C, 0.2 mm layers, no supports. Want another pole diameter or panel size? Change one line in the OpenSCAD file and render again.

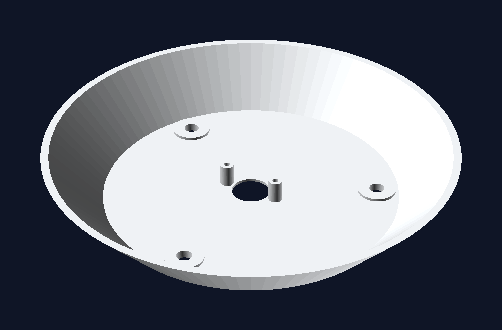
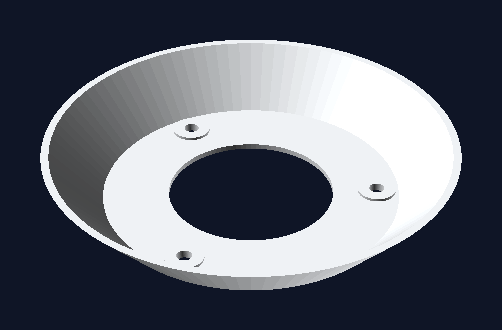
× 9Shield plateFlat ring down, 45° skirt up. White, 2 walls, 15 %.STL.scad
× 1Shield capClosed top with a window and posts for the optional LTR390. White.STL.scad
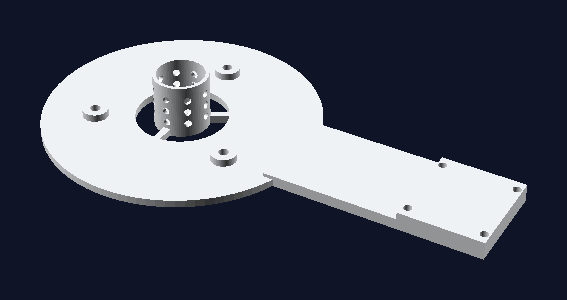
× 1Shield base & armHolds the SHT45 cage and the rods. Flat, 4 walls, 30 %.STL.scad
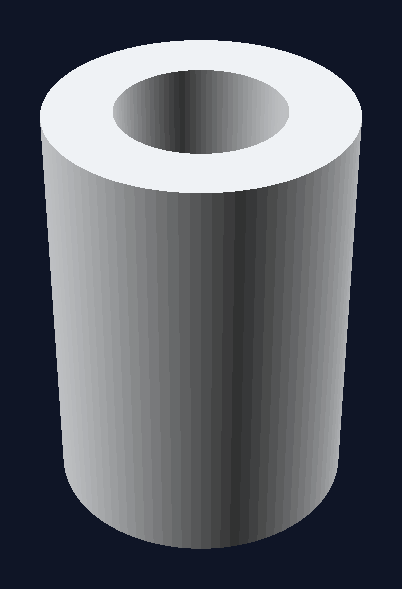
× 30Shield spacer14 mm tubes on the M5 rods. Upright, 100 % infill.STL.scad
× 1Electronics boxGasket groove, 4 glands + vent, perfboard posts. On its back, 4 walls, 30 %.STL.scad
× 1Box lidWith a drip edge on top. Flat, 4 walls, 30 %.STL.scad
× 1Panel frameSnap-in pocket for a 136 × 110 mm panel. Flat, 4 walls, 30 %.STL.scad
× 1Panel cheeksTilt from 45° to 70°. Base plate down, 4 walls, 40 %.STL.scad
× 4Pole saddleTwo hose clamps, four M4 inserts. Flat face down, 6 walls, 40 %.STL.scad
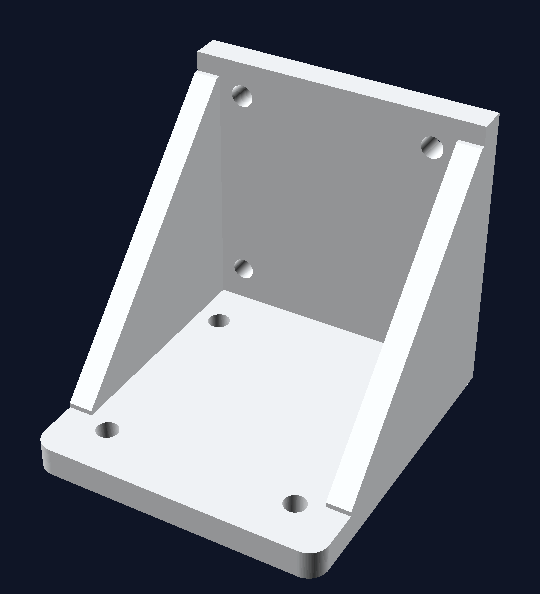
× 2Angle bracketA shelf for the shield arm and the rain plate. On its side, 6 walls, 50 %.STL.scad
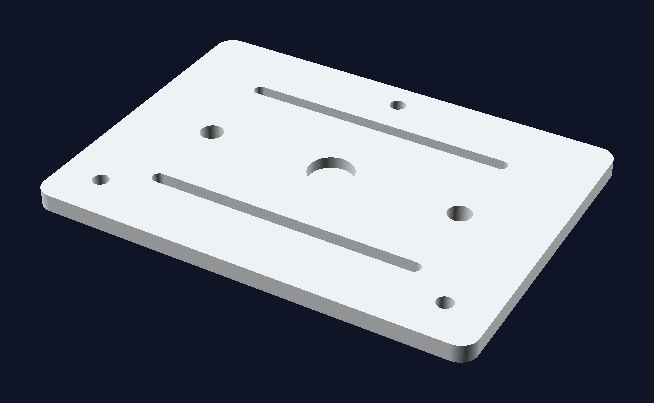
× 1Rain plate, topSlots for the gauge, pocket for a bubble level. Flat, 4 walls, 40 %.STL.scad
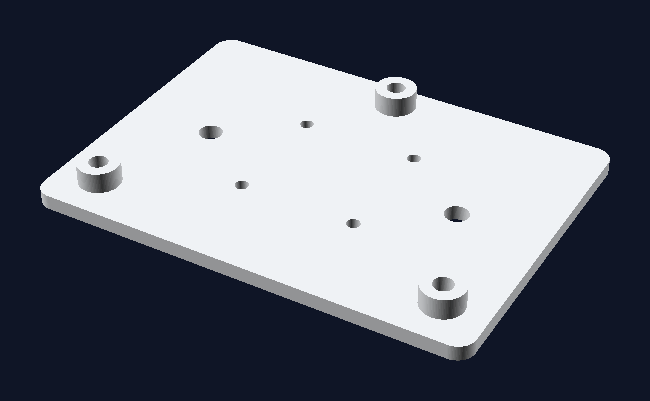
× 1Rain plate, baseThree spring-loaded M5 screws to level it. Flat, 4 walls, 40 %.STL.scad
Flash

No toolchain. Just a USB cable.

Plug the XIAO ESP32-C6 into your computer and flash the latest firmware straight from this page. Prefer to build it yourself? It's a single pio run.

Install the firmware

Works in Chrome and Edge on desktop (Web Serial). On the first install, choose Erase device so the Zigbee stack starts clean. Later updates keep the rain total if you don't erase.

Your browser doesn't support Web Serial. Open this page in Chrome or Edge on a computer. Web Serial needs a secure (https) page.
firmware · afd0ab5 · XIAO ESP32-C6 · Zigbee end device
  1. Connect the boardUSB-C to your computer. Unplug the battery while you flash.
  2. Flash itClick Connect & install, pick the serial port and accept the erase on the first install. If no port shows up, hold BOOT while you plug the cable in.
  3. Add the converterDrop weather_station.mjs into Zigbee2MQTT's external_converters/ folder and restart it.
  4. PairOpen Permit join, then press RESET. The LED blinks while it searches; once joined it stays awake 2 minutes for the interview, then sleeps.
Home Assistant

More than numbers on a dashboard.

The ready-made package turns raw readings into the things you actually use, and warns you when the weather, or the station, needs attention.

  • Rain totalsToday, this month, this year, last 24 h and the rate in mm/h.
  • Gust alertTime to bring the parasol in. You set the threshold.
  • Frost warningFrom the grass-level probe, or from the air temperature without it.
  • Station silentNo report for 30 minutes, or the battery under 20 %.
Home Assistantnow
Strong gust

Gust of 62 km/h from the WSW.

Home Assistant05:40
Frost

-1.8 °C at grass level. Cover the seedlings.

Bill of materials

About €170–200, pole and filament included.

Rough 2026 prices. AliExpress is cheapest but slow; order the electronics from one faster shop to start bench-testing early.

PartWhyApprox.
Seeed XIAO ESP32-C6 + U.FL antennaZigbee radio + MCU, 15 µA in deep sleep€9
Misol / Fine Offset weather meter kit (SparkFun SEN-15901)Anemometer, vane, rain gauge, with RJ11 cables€35–45
SHT45 + BME280Temperature, humidity, pressure€19
bq24074 charger + NTC, 6 V 1–2 W panel, NCR18650B + holderSolar power that stops charging below 0 °C€34–38
Perfboard, 2 × RJ11 jacks, resistors, capacitors, wireThe board in the box€13
4 × PG7 glands, M12 vent plug, silicone cordA sealed box that breathes€13
Pole Ø 32–40 mm, hose clamps, M4/M5 hardware, insertsMounting€29–39
PETG, about 600 gAll printed parts€20
Optional: LTR390, 2 × DS18B20, AS3935UV and light, frost and soil, lightning€30–45
FAQ

Good questions.

Why Zigbee and not WiFi / ESPHome?

A WiFi report costs several times the energy of a Zigbee one, and garden WiFi is often the weakest link. As a sleepy Zigbee end device the station reports through the nearest router, needs no credentials and lives on a small cell and a palm-sized panel. The trade-off is firmware updates over USB and a small Z2M converter.

Will it survive the winter?

The 18650 alone covers about four months with no sun at all, and a 1 W panel already covers December in northern France. The charger stops charging below 0 °C to protect the cell; the cell carries the station through cold spells and charges again once it warms up.

How accurate is it?

The SHT45 is rated ±0.1 °C and ±1 %RH; in practice the radiation shield and its siting matter more than the sensor. Wind is sampled 3 s every minute, which gives a good 5-minute picture but can miss a short gust between two windows. The rain gauge's 0.28 mm per tip is nominal: compare with a manual gauge and adjust it if needed.

Do I need all the optional modules?

No. The firmware detects what is connected at power-on and only exposes those readings. You can add a module later: press RESET, then run Interview and Reconfigure in Zigbee2MQTT during the 2 awake minutes.

Which printer do I need?

Any printer with a 220 × 220 mm bed that prints PETG. The parts were designed on an Ender 3 V2 Neo with its stock PTFE-lined hotend. ASA works too if your hotend handles about 250 °C. Avoid PLA outdoors.

Is it tested?

Every commit runs host unit tests (vane decoding, wind average, gust and direction, rain bounce guard, the clock across deep sleep), builds the firmware with PlatformIO and Arduino CLI, tests the converter against zigbee-herdsman-converters, validates the Home Assistant package and renders every 3D part.

Documentation

Everything, in detail.

Wiring diagrams, the power budget, a bench-first build, flashing, pairing and the Home Assistant package.

Stop trusting the airport's weather.

Your garden, your readings, your Home Assistant. Nothing leaves your house.