Installation Guide
This guide will walk you through installing the Hitachi CSNet Home integration for Home Assistant.
Prerequisites
Before installing, ensure you have:
✅ Home Assistant installed and running (version 2023.1.0 or newer recommended)
✅ Hitachi heat pump with ATW-IOT-01 module
✅ CSNet Manager account (same credentials you use for the mobile app or website)
✅ Internet connection from your Home Assistant instance
✅ Administrator access to your Home Assistant installation
Installation Methods
Choose the method that works best for you:
Method 1: HACS (Recommended) ⭐
HACS (Home Assistant Community Store) makes installation and updates easy.
Method 2: Manual Installation from Release
Download and install from GitHub releases.
Method 3: Manual Installation from Source
Install directly from the repository for development or latest features.
Method 1: HACS Installation (Recommended)
Step 1: Install HACS
If you don't have HACS installed:
- Visit the HACS Installation Guide
- Follow the instructions to install HACS
- Restart Home Assistant
- Configure HACS through the UI
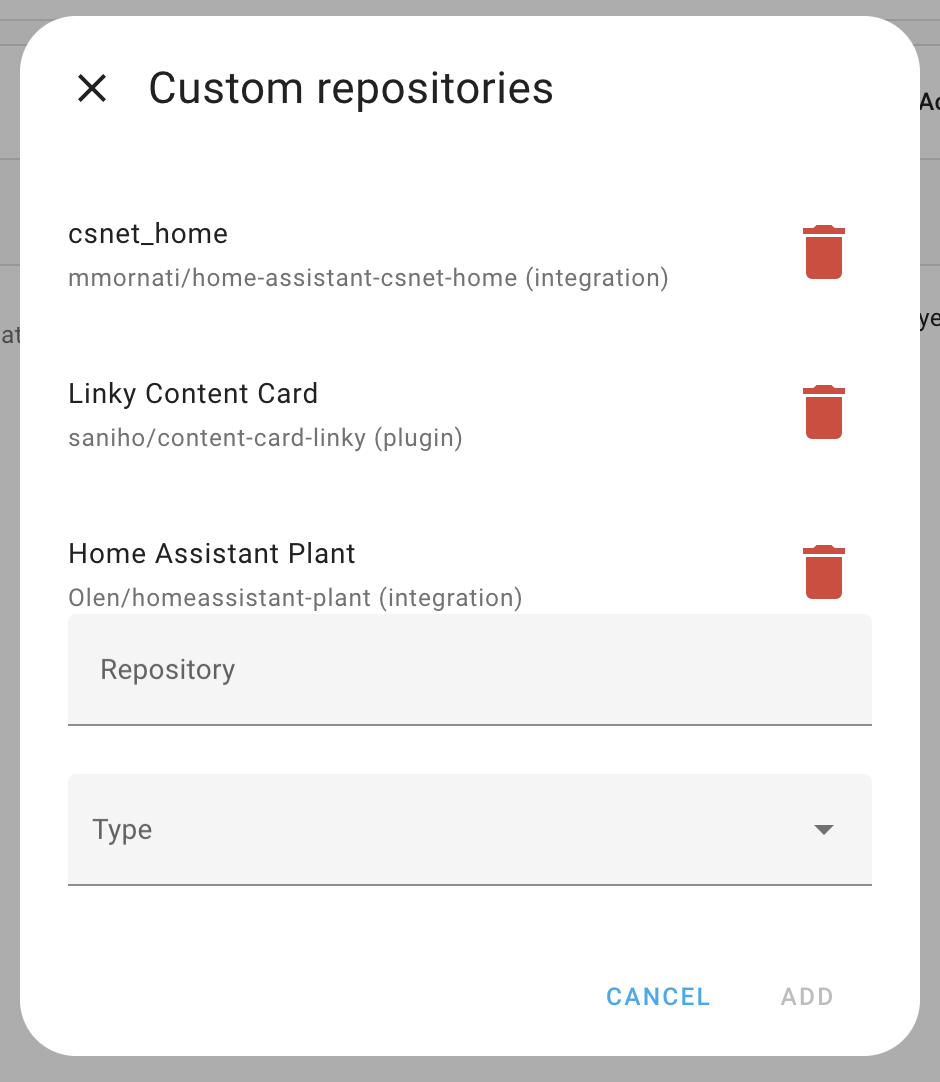
Step 2: Add Custom Repository (If needed)
Note: If the integration is not yet available in HACS default repositories, you'll need to add it as a custom repository.
- Open Home Assistant
- Go to HACS → Integrations
- Click the ⋮ (three dots) menu in the top right
- Select Custom repositories
- Add repository URL:
- Select category: Integration
- Click Add
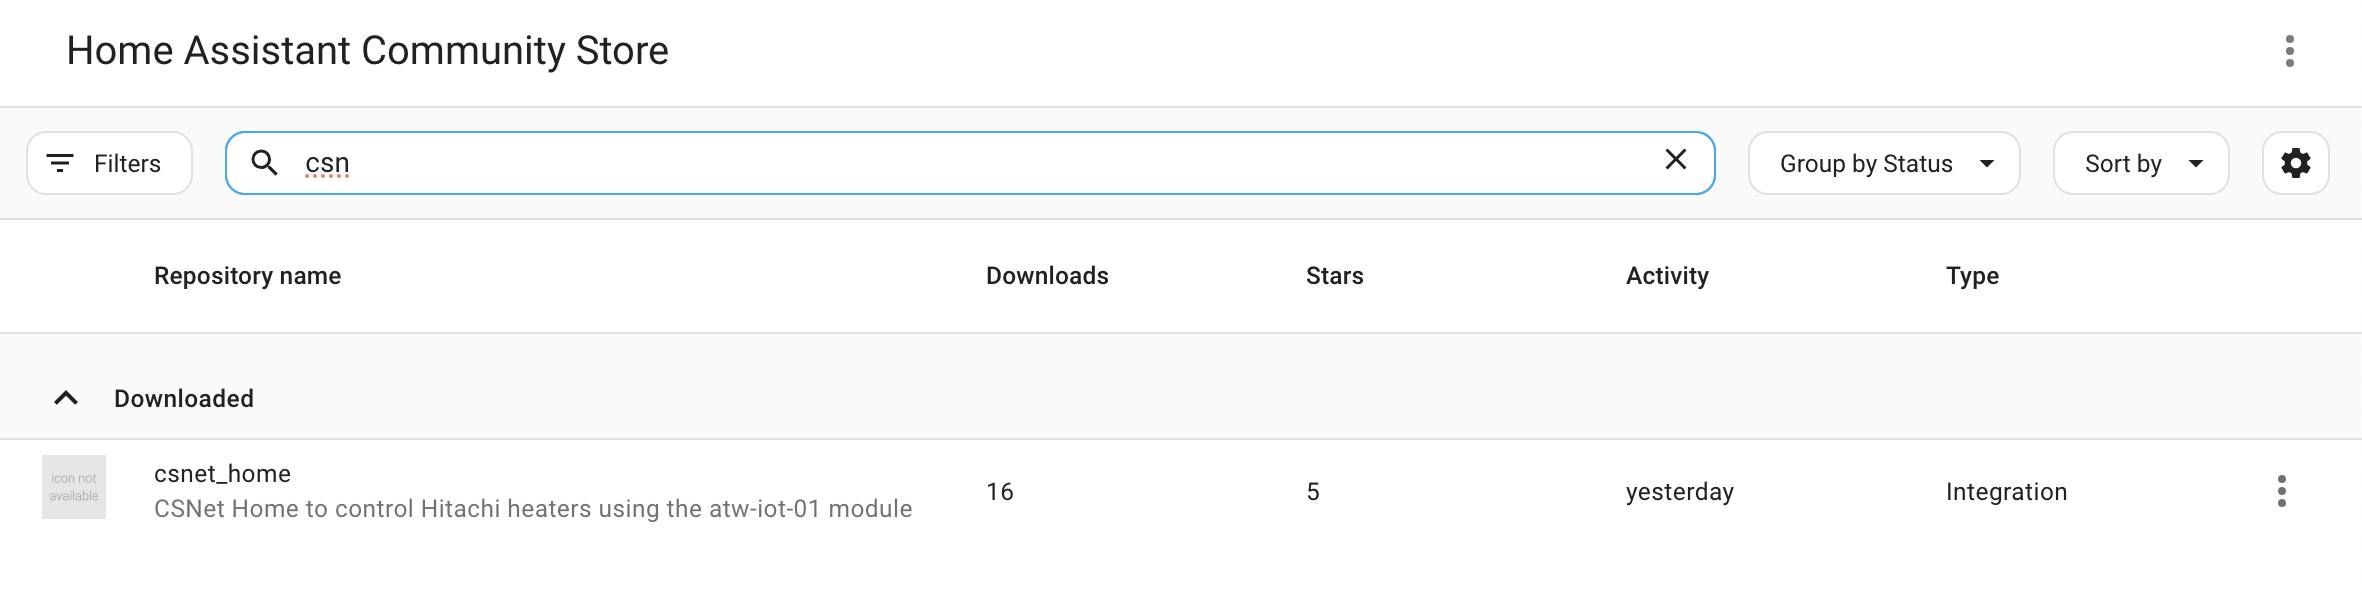
Step 3: Install the Integration
- In HACS → Integrations
- Click the + Explore & Download Repositories button
- Search for "CSNet Home" or "Hitachi"
- Click on Hitachi CSNet Home
- Click Download
- Select the latest version
- Click Download again
Step 4: Restart Home Assistant
After installation completes:
- Go to Settings → System
- Click Restart (top right corner)
- Confirm the restart
- Wait for Home Assistant to come back online (usually 1-2 minutes)
✅ Installation Complete! Proceed to the Configuration Guide.
Method 2: Manual Installation from Release
Step 1: Download the Release
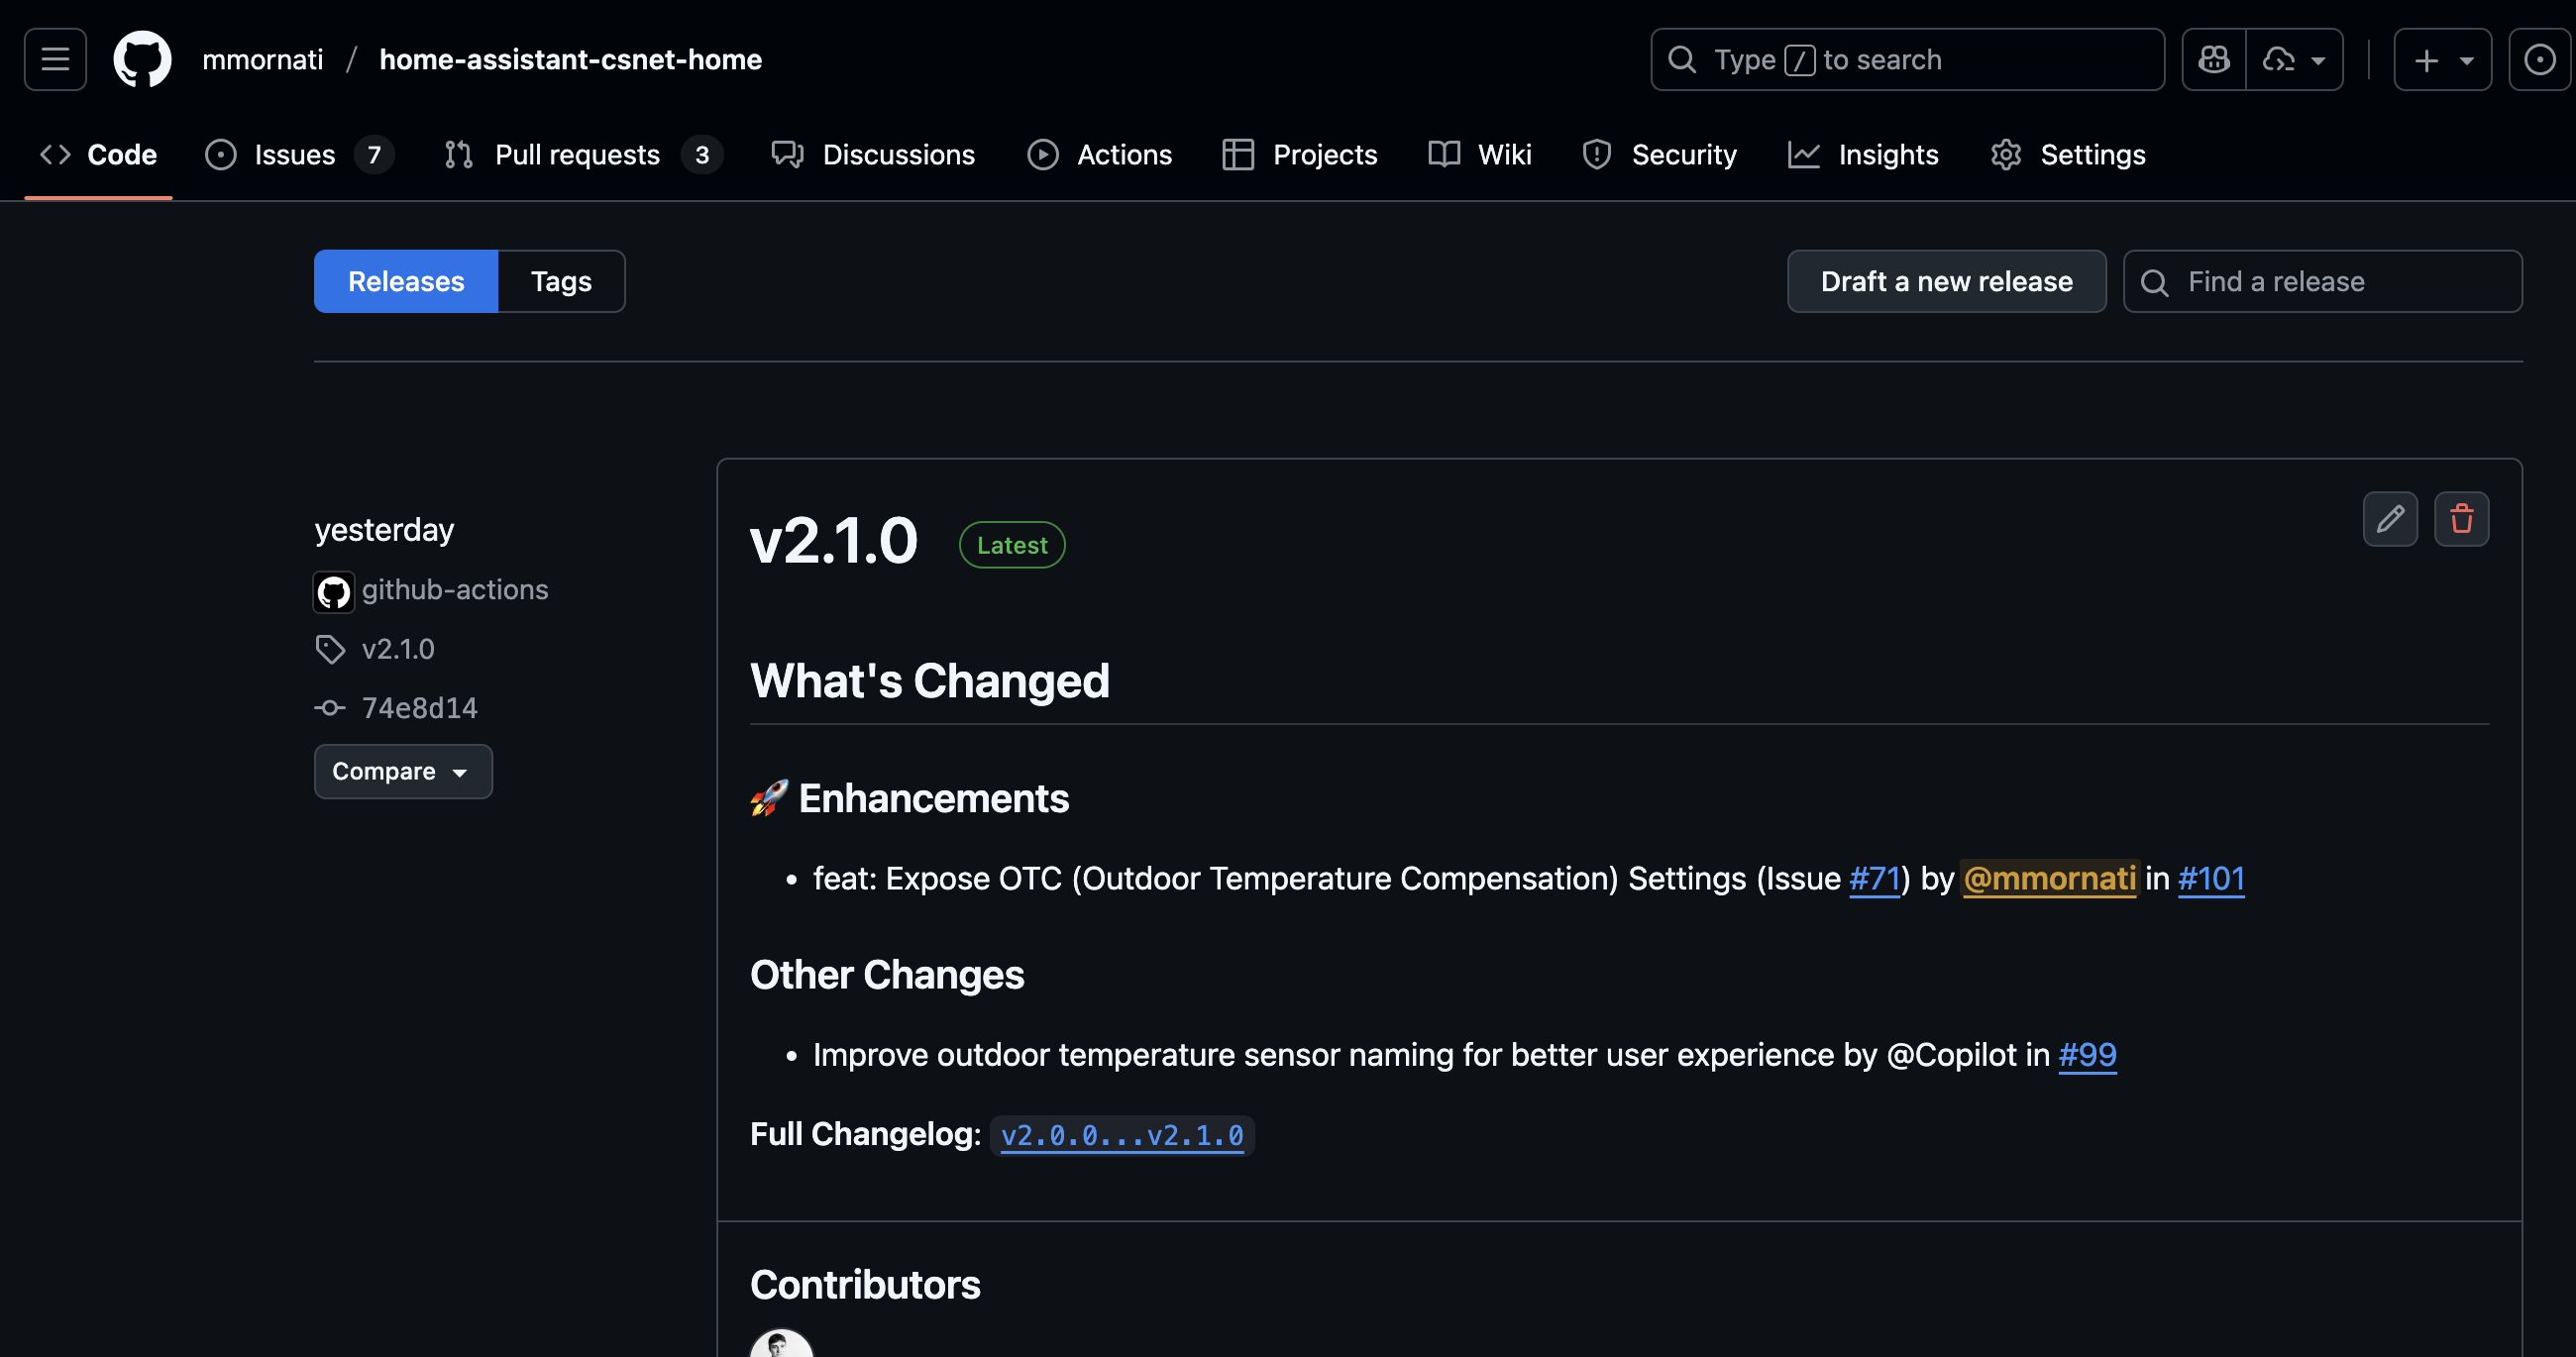
- Visit the GitHub Releases page
- Find the latest release
- Download the
hass-custom-csnet-home.zipfile - Save it to your computer
Step 2: Locate Your Home Assistant Configuration Directory
Your configuration directory is where your configuration.yaml file is located.
Common locations: - Home Assistant OS: /config/ - Docker: Your mounted config volume - Core/venv: Usually ~/.homeassistant/ - Supervised: /usr/share/hassio/homeassistant/
You can access it via: - File Editor add-on - Samba Share add-on - SSH access - VS Code add-on
Step 3: Extract the Integration
Using terminal/command line:
# Navigate to your Home Assistant config directory
cd YOUR_HASS_CONFIG_DIRECTORY

# Create custom_components directory if it doesn't exist
mkdir -p custom_components

# Navigate into it
cd custom_components

# Create csnet_home directory
mkdir -p csnet_home

# Navigate into it
cd csnet_home

# Extract the downloaded ZIP file
unzip ~/Downloads/hass-custom-csnet-home.zip
Or using a file manager: 1. Extract the ZIP file 2. Copy all extracted files to YOUR_CONFIG/custom_components/csnet_home/
Step 4: Verify Installation
Your directory structure should look like this:
config/
├── configuration.yaml
└── custom_components/
    └── csnet_home/
        ├── __init__.py
        ├── api.py
        ├── climate.py
        ├── config_flow.py
        ├── const.py
        ├── coordinator.py
        ├── manifest.json
        ├── sensor.py
        ├── water_heater.py
        └── requirements.txt
Step 5: Restart Home Assistant
- Go to Settings → System
- Click Restart
- Wait for restart to complete
✅ Installation Complete! Proceed to the Configuration Guide.
Method 3: Manual Installation from Source
Step 1: Clone the Repository
Using git:
cd /tmp
git clone https://github.com/mmornati/home-assistant-csnet-home.git
cd home-assistant-csnet-home
Or download as ZIP: 1. Go to GitHub repository 2. Click Code → Download ZIP 3. Extract the ZIP file
Step 2: Copy Integration Files
# Navigate to your Home Assistant config directory
cd YOUR_HASS_CONFIG_DIRECTORY

# Create custom_components directory
mkdir -p custom_components

# Copy the integration
cp -r /tmp/home-assistant-csnet-home/custom_components/csnet_home custom_components/
Step 3: Restart Home Assistant
- Go to Settings → System
- Click Restart
- Wait for restart to complete
✅ Installation Complete! Proceed to the Configuration Guide.
Installing a Preview Version (Advanced)
You can test unreleased features or bug fixes from Pull Requests.
Step 1: Find the Preview Build
- Go to the Pull Requests page
- Open the PR you want to test
- Look for a bot comment with a workflow run link
- Click the workflow link to go to GitHub Actions
- Download the artifact:
csnet_home-pr-preview
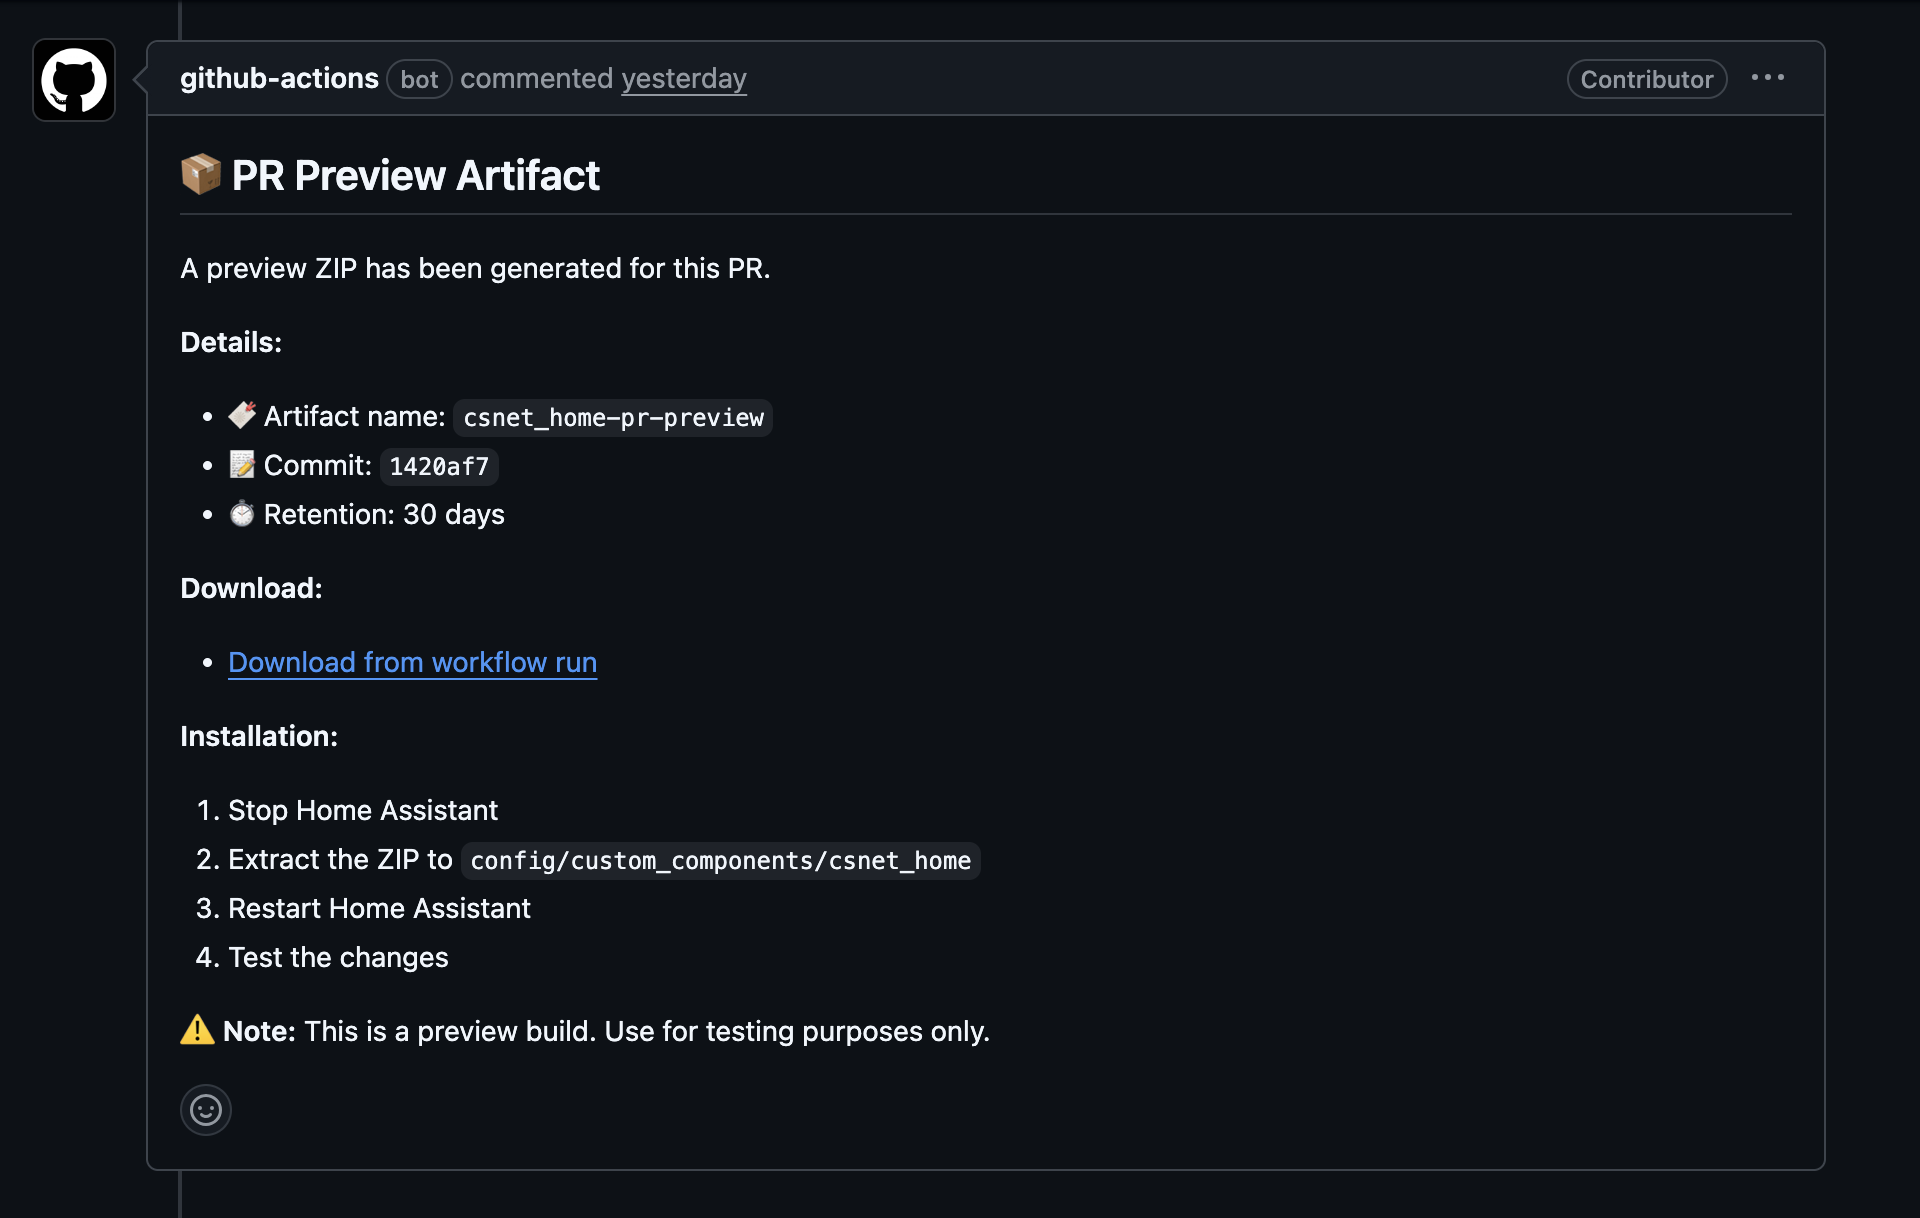
Step 2: Extract and Install
- Stop Home Assistant (important!)
- Extract the downloaded ZIP file
- Navigate to
YOUR_CONFIG/custom_components/csnet_home/ - Backup your current installation (copy the folder elsewhere)
- Replace all files with the preview version files
- Start Home Assistant
Step 3: Disable Auto-Updates (If using HACS)
⚠️ Important: If you installed via HACS, disable automatic updates to prevent the preview from being overwritten.
- Go to HACS → Integrations
- Find Hitachi CSNet Home
- Disable automatic updates for this integration
Reverting to Stable
To go back to the stable version: 1. Delete the preview files 2. Restore your backup OR reinstall via HACS 3. Restart Home Assistant
Verifying Installation
After restarting, verify the integration is properly installed:
Check in Logs
- Go to Settings → System → Logs
- Look for any errors related to
csnet_home - You should see no errors at this point
Check Available Integrations
- Go to Settings → Devices & Services
- Click + Add Integration
- Search for "Hitachi"
- You should see "Hitachi CSNet Home" in the results
If you see the integration in search results, installation was successful! 🎉
Troubleshooting Installation
Integration Not Showing in Search
Problem: Can't find "Hitachi CSNet Home" when adding integration.
Solutions: 1. Clear browser cache: Press Ctrl+Shift+R (or Cmd+Shift+R on Mac) 2. Verify file permissions: Ensure files are readable by Home Assistant
3. Check file structure: Verifymanifest.json exists in the integration folder 4. Restart again: Sometimes requires a second restart 5. Check logs: Look for loading errors in Settings → System → Logs Python Errors on Startup
Problem: Errors about missing modules or syntax errors.
Solutions: 1. Verify Python version: Home Assistant requires Python 3.11+ 2. Check Home Assistant version: Update to latest version 3. Reinstall dependencies: Delete the integration and reinstall 4. Check for file corruption: Re-download and reinstall
HACS Not Finding Repository
Problem: Repository not found when adding custom repository.
Solutions: 1. Check URL: Ensure you're using the correct URL (no typos) 2. Check GitHub access: Ensure you can access GitHub from your network 3. Wait and retry: GitHub API rate limits may apply 4. Check HACS logs: Go to HACS → Documentation → Logs
Permission Denied Errors
Problem: Can't write files or access directories.
Solutions: 1. Check ownership: Ensure files are owned by the Home Assistant user
2. Check SELinux/AppArmor: May need to adjust security policies 3. Use correct method: File Editor add-on handles permissions automaticallyPost-Installation
Now that installation is complete:
- Configure the integration: Follow the Configuration Guide
- Explore features: Check out Climate Control, Water Heater Control, and Sensors Reference
- Customize your setup: Visit Advanced Features
Updating the Integration
Via HACS
- HACS will notify you when updates are available
- Go to HACS → Integrations
- Find Hitachi CSNet Home
- Click Update
- Restart Home Assistant
Manual Update
- Download the latest release
- Stop Home Assistant
- Backup your current installation
- Replace files with new version
- Start Home Assistant
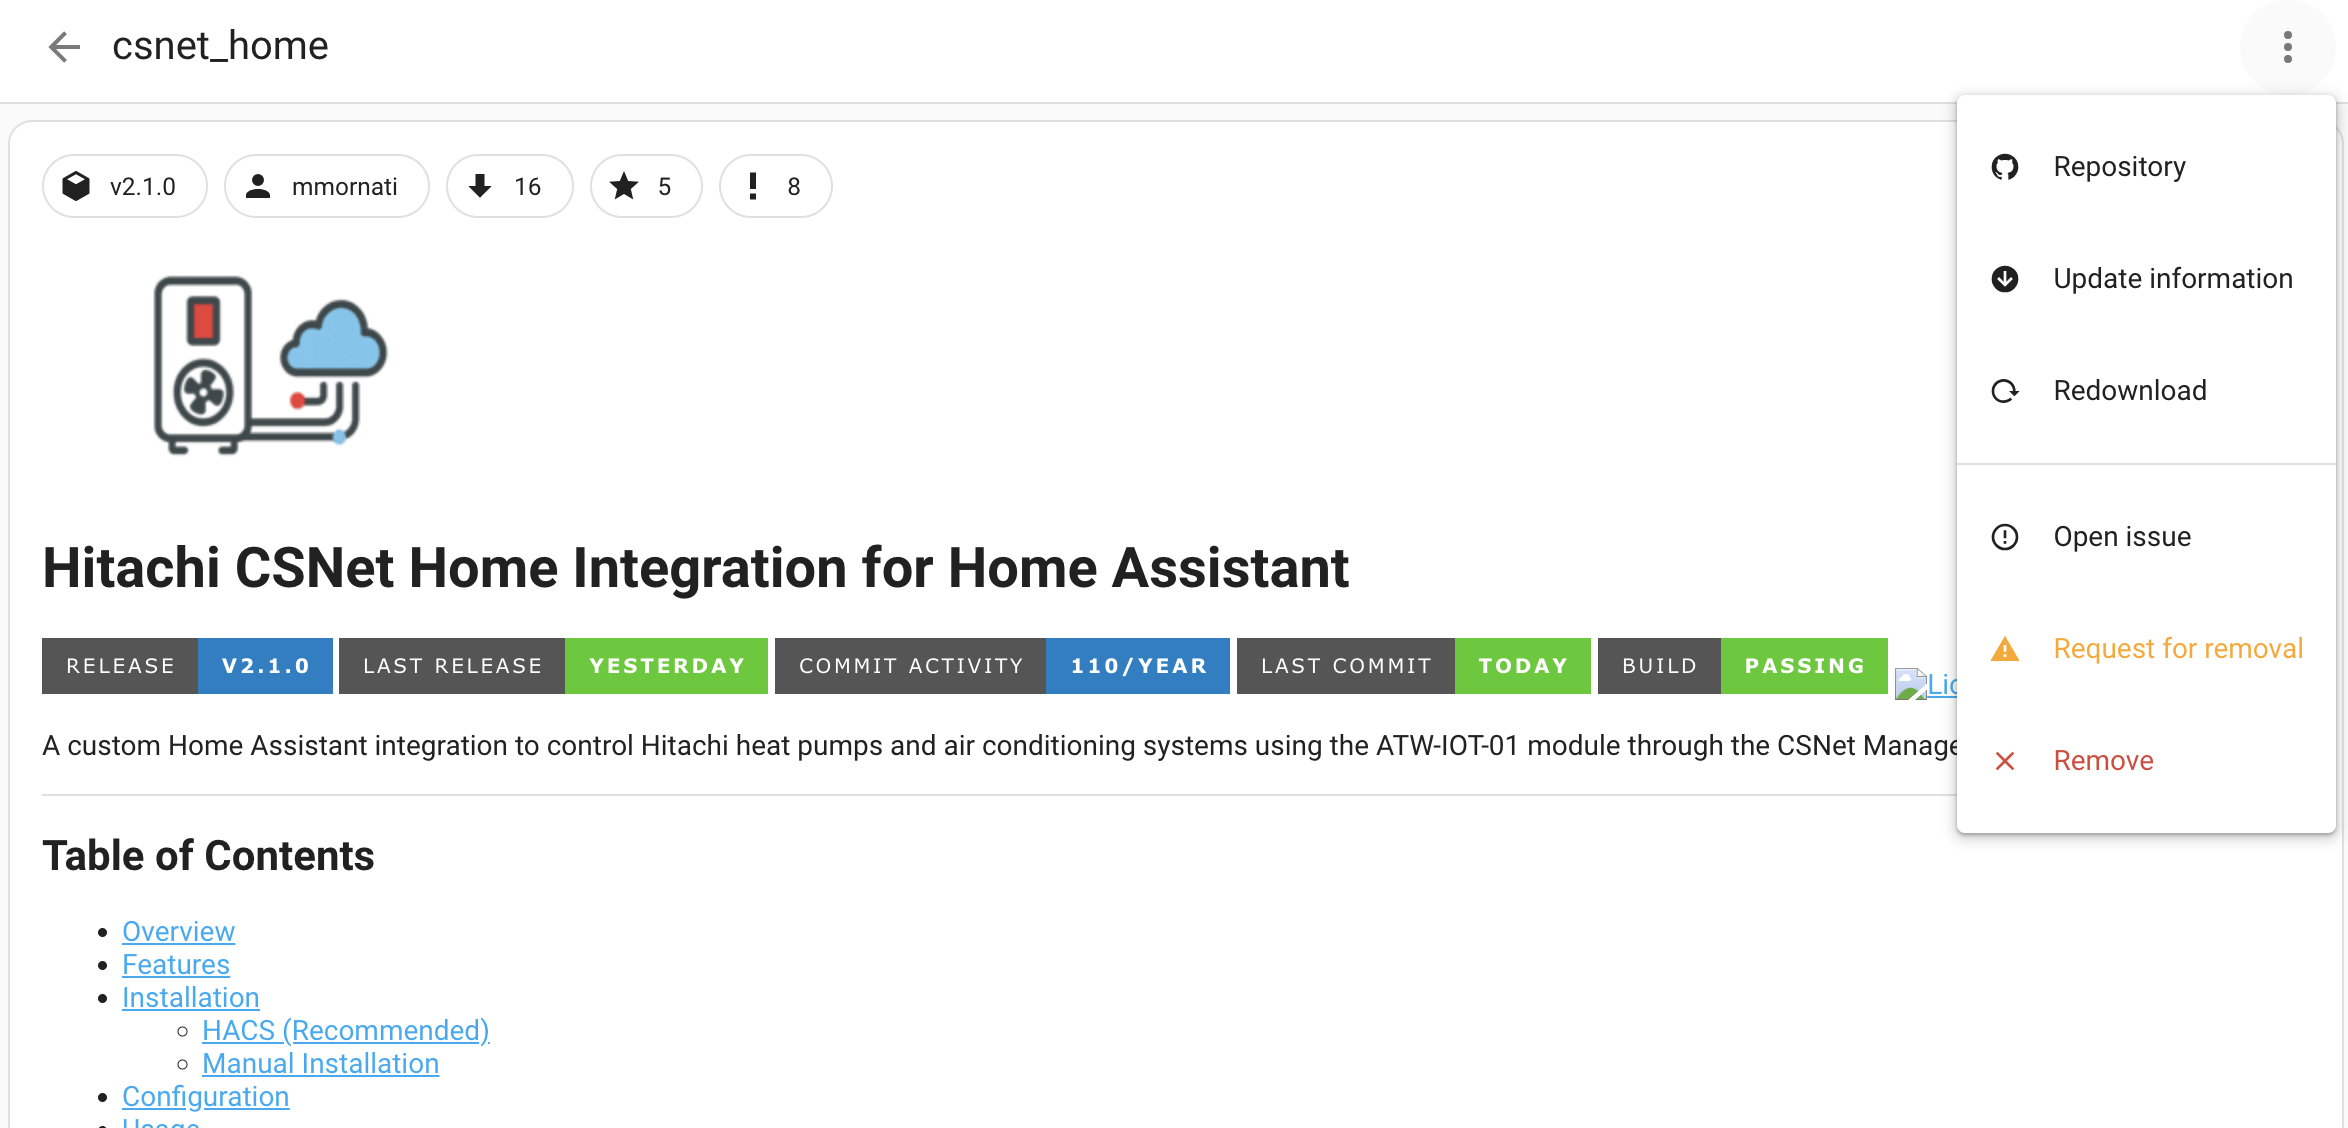
Checking Your Version
To see your installed version: 1. Go to Settings → Devices & Services 2. Find CSNet Home 3. Click on it 4. Look for version information in device details
Or check custom_components/csnet_home/manifest.json:
Uninstalling
If you need to remove the integration:
Step 1: Remove Configuration
- Go to Settings → Devices & Services
- Find Hitachi CSNet Home
- Click the ⋮ (three dots) menu
- Select Delete
- Confirm deletion
Step 2: Remove Files
Via HACS: 1. Go to HACS → Integrations 2. Find Hitachi CSNet Home 3. Click ⋮ → Remove
Manually:
Step 3: Restart Home Assistant
- Go to Settings → System
- Click Restart
Next Steps
✅ Installation complete!
Now proceed to: - Configuration Guide - Set up the integration - Climate Control - Control your heating and cooling zones - Water Heater Control - Manage your DHW system - Advanced Features - Explore all available features
Getting Help
If you encounter issues: - Check Troubleshooting page - Search GitHub Issues - Ask in GitHub Discussions - Review FAQ for common questions